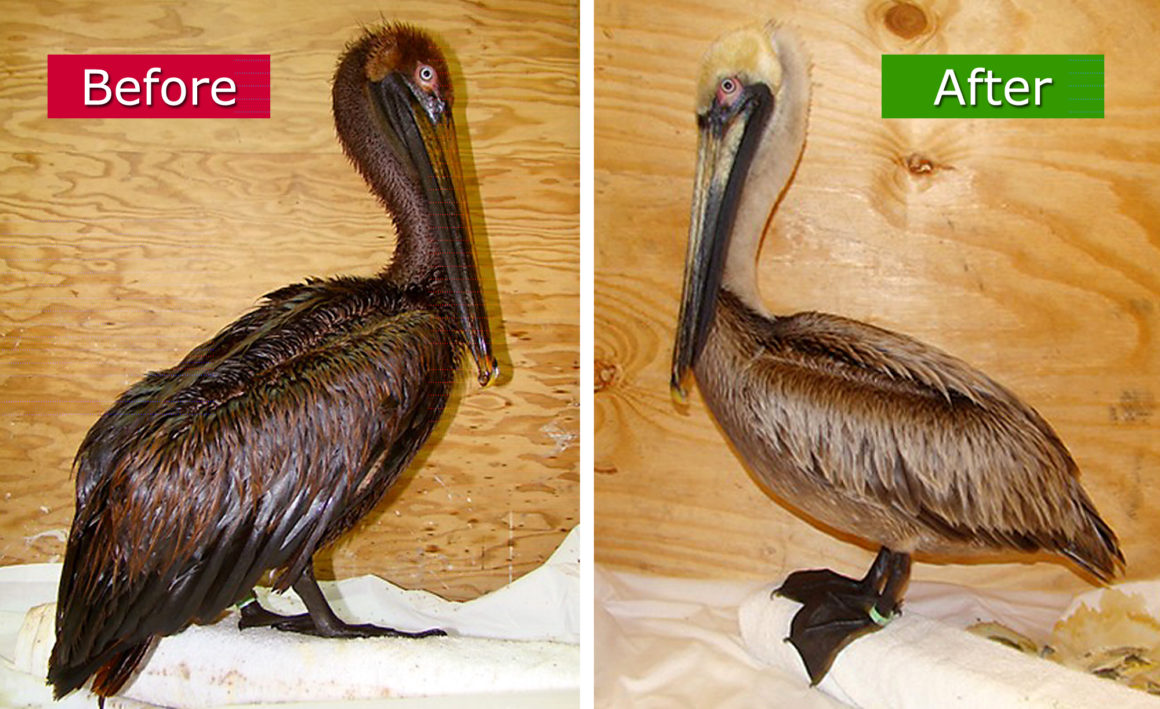
If you find yourself working with a lot of images or other media files in WordPress, chances are good that at some point you’ll need to change a file’s content while still keeping links and image placement the same. The best way we’ve found to do this is with a free plugin called “Enable Media Replace”. In this Quick Guide, we’ll teach you how to install this plugin and use it to replace images that already exists or media files on your WordPress site.
There are a number of different things that could cause you to need to replace images in your media library. Like:
- Your team linked a media file in a marketing campaign, and you don’t want your flyers with the old URL to break
- You used some of the files in your WordPress media library and in your themes or plugins and you can’t go alter the instances of those in the code easily
- Your logo changed, and you just want to make sure that change is reflected everywhere.
Here’s the video explaining how you can change an item in your WordPress media library:
How to Replace Images Without a New Name & Location
- From your dashboard, select “Plugins”>”Add New”.
- Search for “Enable Media Replace” in the “Add Plugins” search box.
- When you find the listing for “Enable Media Replace” by Måns Jonasson click “Install Now”.
- Click “Activate Plugin”.

(click to enlarge)
- Open up the file you wish to replace by selecting “Media”>”Library” from the left dashboard menu.

(click to enlarge)
- Click on the image or other media item you wish to change.
- From the page titled “Attachment Details”, scroll down until you find the section on the right side titled “Replace Media”.
- Hit the “Upload a New File” button.

(click to enlarge)
- Click the button titled “choose file” and select the new file you wish to replace your current one.
- Choose the appropriate setting for your situation. If you’re uploading a file of the same type as the one you’re replacing, keep the default setting “Just replace the file” selected.
- Click “Upload”.

- That’s it! Double check that it appears the way you want it to on yours site, and that a confirmation message appears from WordPress above your new file.

(click to enlarge)
Replacing WordPress Images: A Note on Caching
If you’ve replaced an image but you’re still seeing the old one, the most likely issue is caching.
If you’ve replaced an image but you’re still seeing the old one, the most likely issue is caching: even though the new image did upload properly, your system has saved a version of the old image, and that’s what it’s giving you.
There are lots of types of caching, but the most common issues here would be:
- A hosting-based caching solution, like SiteGround’s SuperCacher or WP Engine’s cache. Clear this using whatever method the host makes available.
- A cache plugin like WP Super Cache. Clear this using whatever method the plugin makes available.
- Browser-based caching: your browser, like Chrome or Firefox, saving old copies of media files. Hard-refresh the page where the image appears with ctrl+shift+r (PC) or cmd+shift+r (Mac).
If you’re getting stuck in caching layers after replacing an image, give those a try!
Image credit: IBRRC
Keep reading the article at WPShout. The article was originally written by David Hayes on 2020-12-09 12:26:32.
The article was hand-picked and curated for you by the Editorial Team of WP Archives.


