Your site’s position in the search engine rankings can mean the difference between attracting thousands of visitors or getting zero clicks. However, Google isn’t always forthcoming when it comes to disclosing its ranking criteria.
That’s why the Core Web Vitals are such a big deal. Google has laid out explicit guidelines and provided tools to fulfill these ranking criteria and improve your position in the search engine results.
In this post, we’ll discuss what Core Web Vitals are and why they’re the hottest new trend in Search Engine Optimization (SEO). We’ll then show you how to outrank over 85 percent of all websites by optimizing your content for the Core Web Vitals. Let’s get started!
An introduction to the Core Web Vitals (and why they’re important)
Search engines such as Google want to help users find high-quality, relevant content as quickly as possible. Google considers many factors when deciding where your content appears in Search Engine Result Pages (SERPs).
For example, it looks at the perceived quality of the visitor experience. If your site is slow to load, laggy, or unstable, this will likely result in a poor visitor experience. Even if your website contains genuinely helpful, relevant information, people are unlikely to stick around to enjoy that content. In fact, evidence suggests that 40 percent of people will abandon a site that takes longer than three seconds to load.
Google’s Core Web Vitals project is a new initiative that measures how users perceive a web page’s speed, responsiveness, and visual stability. By analyzing these metrics, Google can determine the quality of the visitor experience. It will then consider this information when ranking your content.
With over 50 percent of website traffic coming from organic search, you’ll likely want to do everything in your power to appeal to search engines. Therefore, you should consider optimizing your site for the Core Web Vitals.
Additionally, these page experience signals can be crucial deciding factors when websites have similar content. Imagine you and your closest competitor both blog about the best smartphones for 2021. Optimizing your site for the Core Web Vitals may result in your content outranking the competition.
How to measure your site against the Core Web Vitals
The Core Web Vitals are made up of three key metrics: First Input Delay (FID), Largest Contentful Paint (LCP), and Cumulative Layout Shift (CLS).
FID is the length of time between when a user first interacts with your page and when their browser responds. Google recommends keeping your FID under 100 milliseconds.
LCP is how long it takes to render the largest content element on that page. In Google’s eyes, an LCP of 2.5 seconds or less is ideal.
Finally, CLS measures the number of unexpected layout shifts that occur during the page loading phase. CLS is rated from 0-1, and an ideal measurement is under 0.1.
Before fine-tuning your site for these metrics, it’s a good idea to establish a performance baseline. In this way, you can evaluate whether your changes were effective.
Google’s reporting tool can measure your site’s LCP, FID, and CLS performance using historical, real-world data. Just be aware that you’ll need to register your website within the Google Search Console to use it.
How to optimize your WordPress site for the Core Web Vitals (3 ways)
According to research from HubSpot, 75 percent of users never scroll past the first page of Google’s search results. Optimizing your site for the Core Web Vitals could mean the difference between landing a top spot or missing out on the majority of potential visitors. With the stakes high, let’s see the steps you can take to get ahead.
1. Set up Google’s Accelerated Mobile Pages (AMP)
Accelerated Mobile Pages (AMP) is a framework that uses stripped-down HTML files to create a fast, mobile-friendly version of your website. Crucially, if you publish an AMP version of your WordPress site, Google will evaluate your content based on the performance of your AMP pages. As such, using this framework can give you a Search Engine Optimization (SEO) advantage.
According to the AMP website, 60 percent of AMP domains would easily pass the Core Web Vitals metrics. This statistic is a huge improvement on non-AMP domains, which have a predicted 12 percent pass rate.
You can generate AMP-valid markup based on your existing WordPress content using a plugin such as AMP:
After activating AMP, navigate to AMP > Settings in the WordPress dashboard and then select Open Wizard. The plugin will now help you identify the best AMP configuration settings for your website:
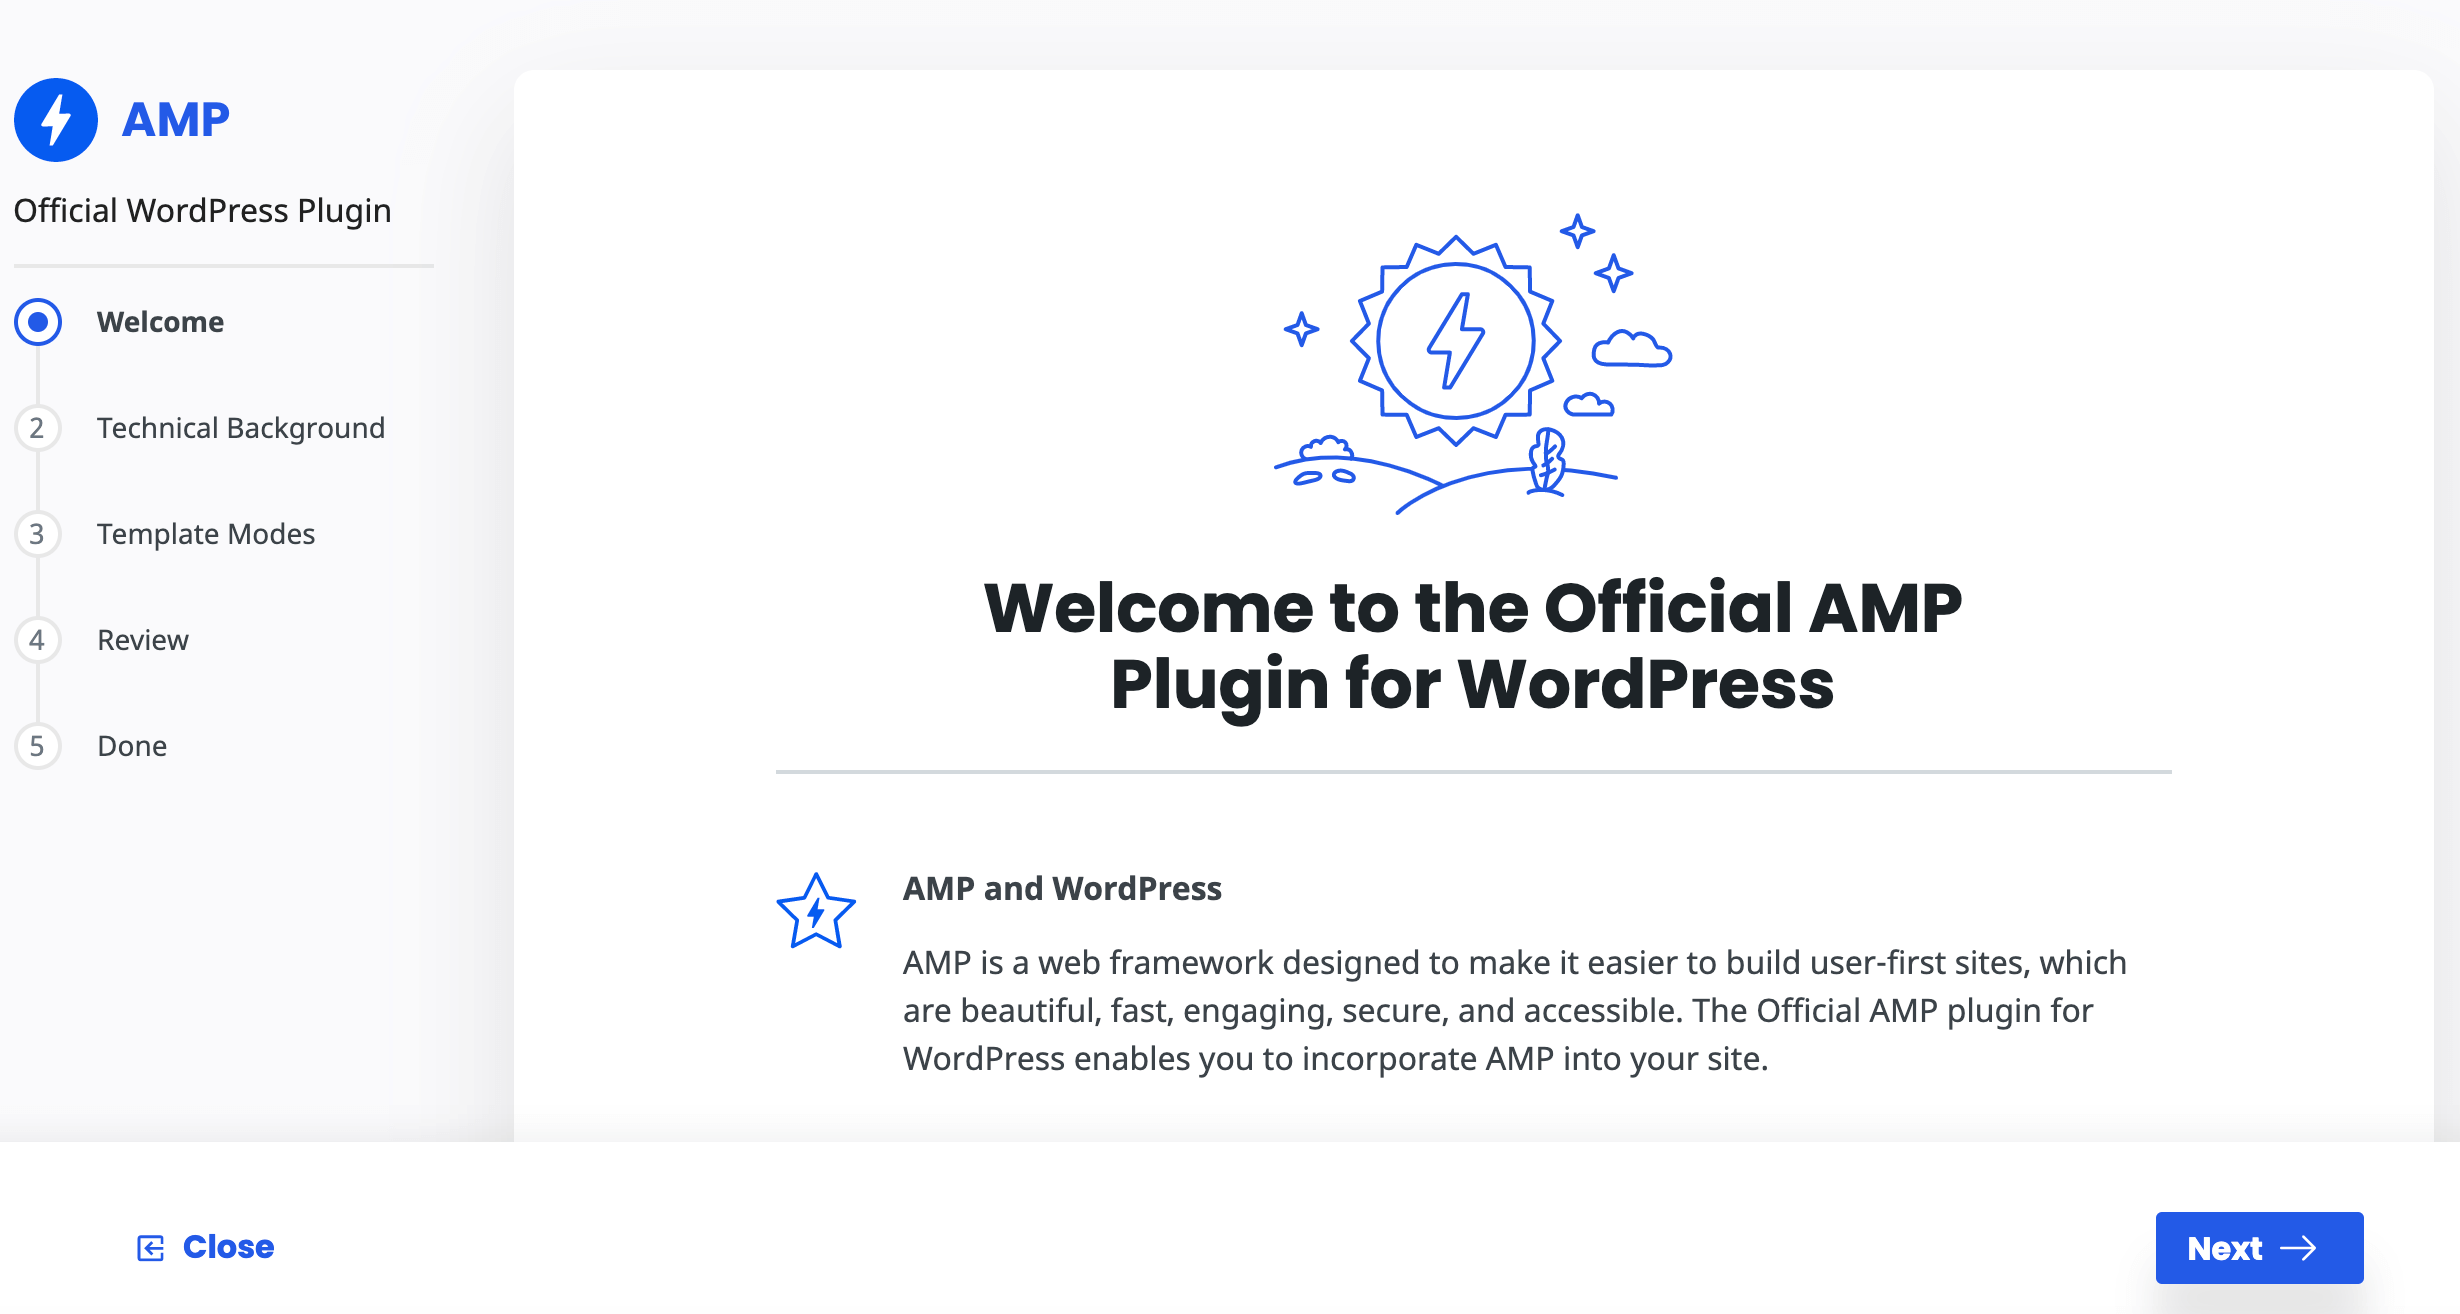
Select a mode, and this plugin will start serving AMP pages to your visitors.
After configuring the AMP plugin, we recommend testing your site using the AMP Page Experience Guide. This diagnostic tool evaluates your site using performance monitoring technology such as PageSpeed Insights and the Mobile-Friendly Test:
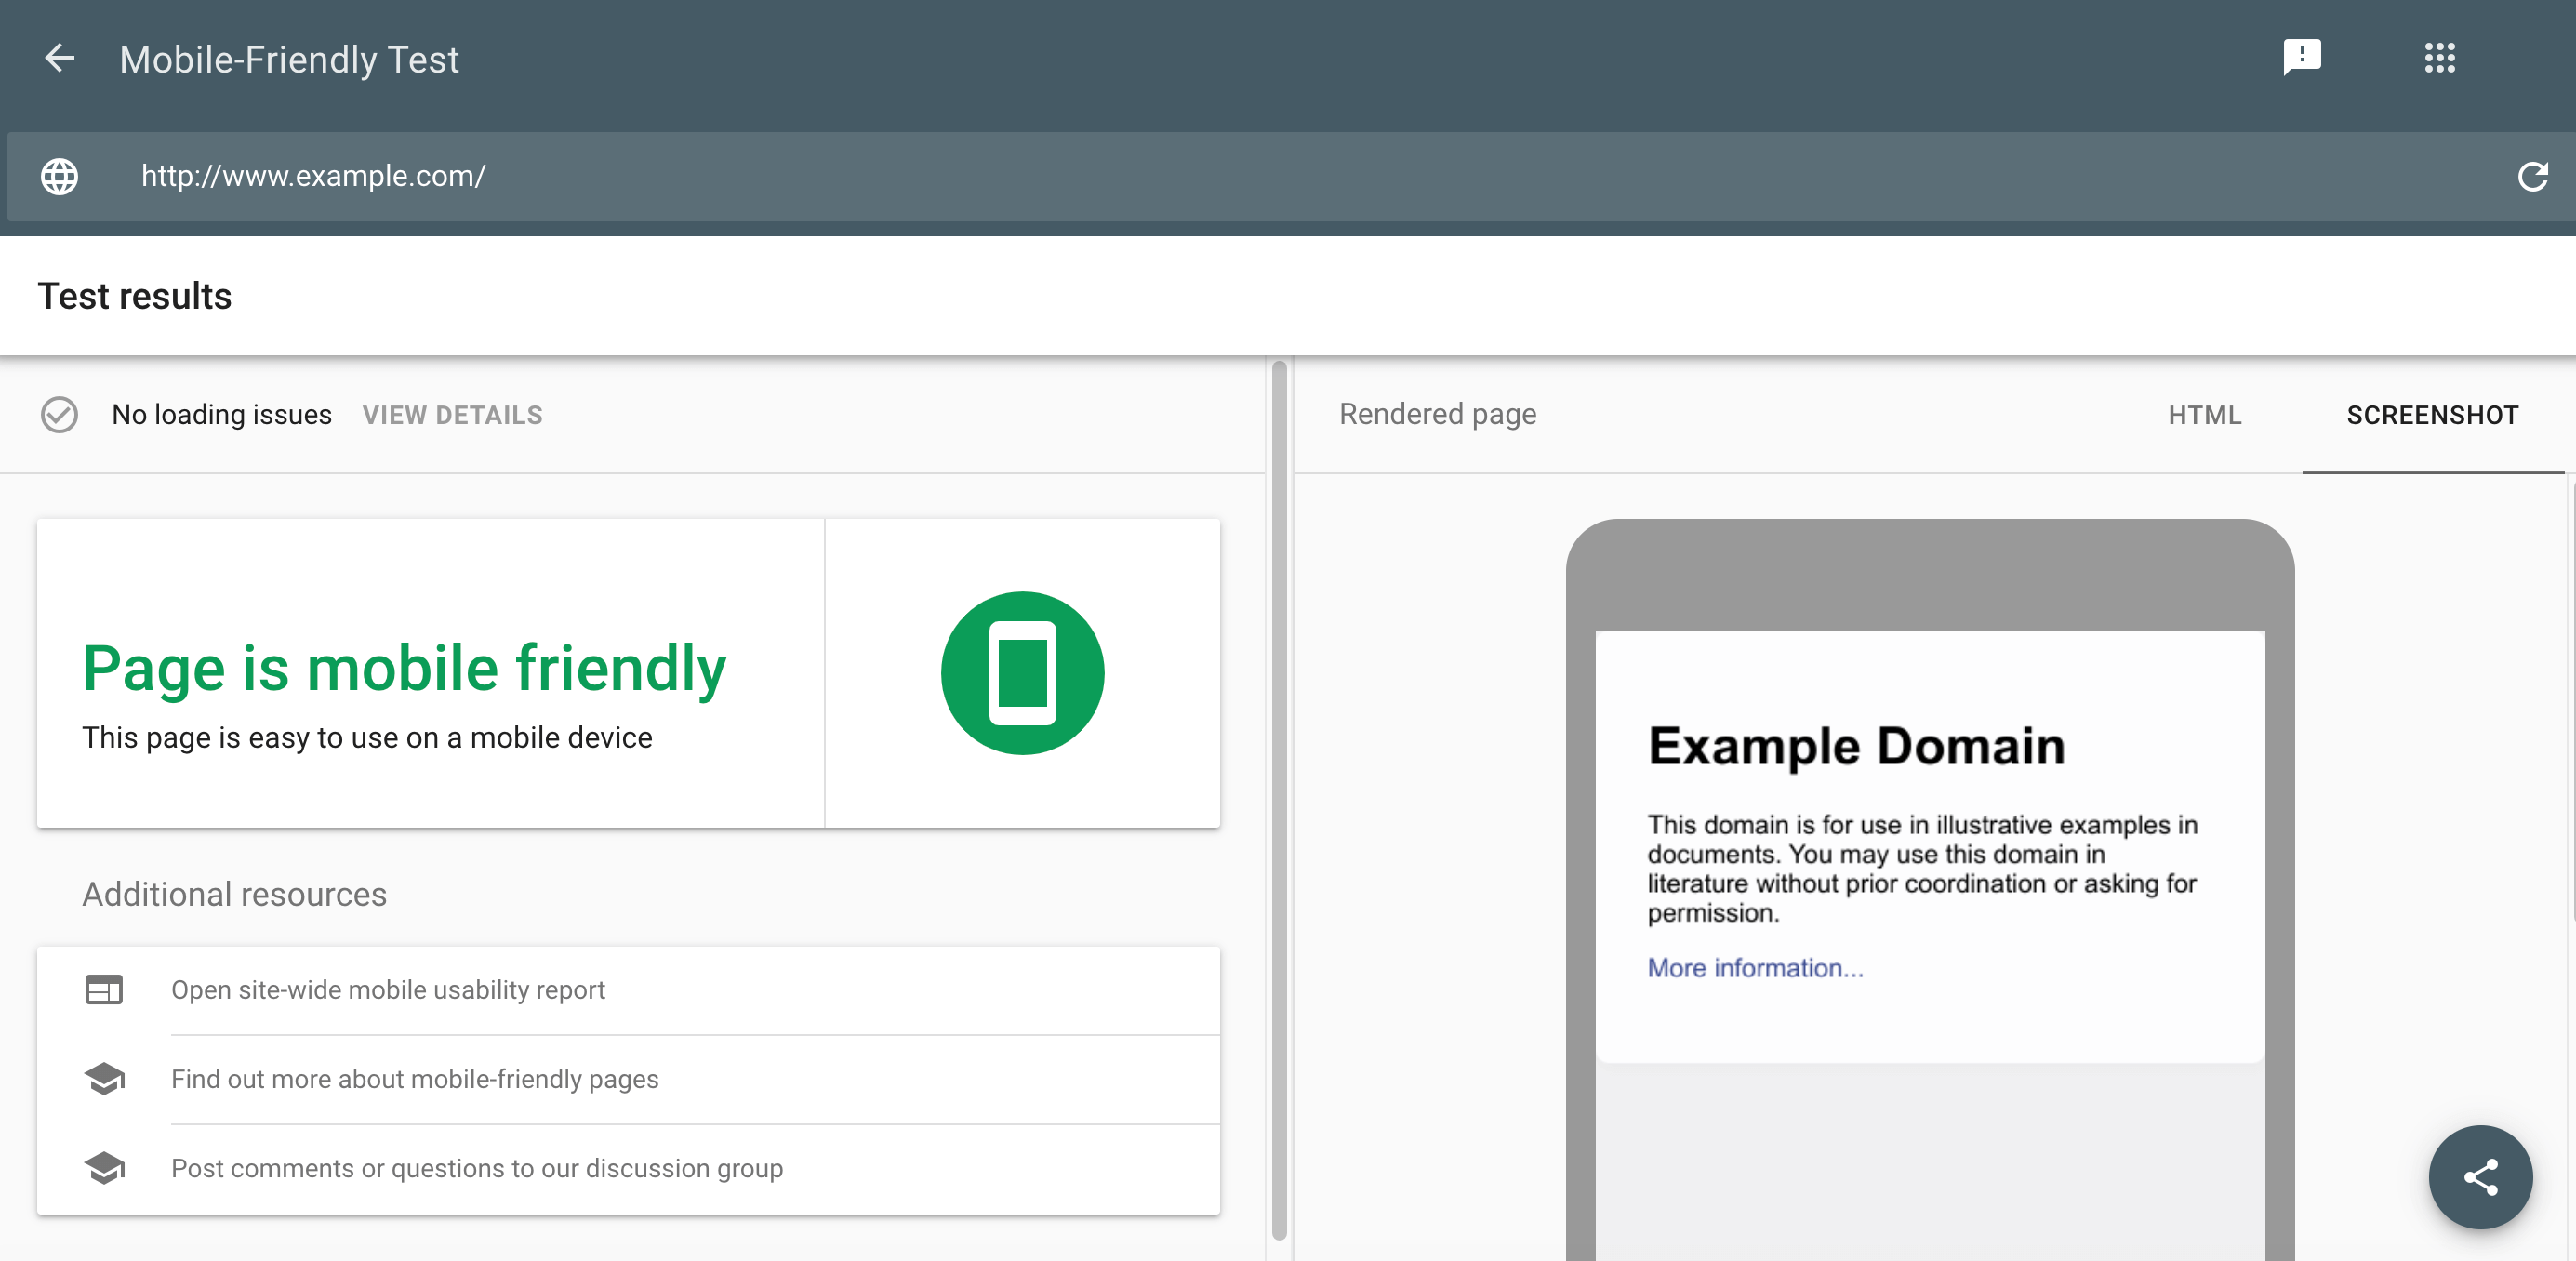
As part of its evaluation, AMP Page Experience will provide actionable suggestions for further optimizing your site. Following them can deliver an extra performance boost.
2. Install Jetpack Boost
While many plugins promise to improve your site’s performance, Jetpack Boost is designed with the Core Web Vitals firmly in mind. This plugin is divided into three modules that can optimize your Cascading Style Sheets (CSS) loading, defer non-essential JavaScript, and enable lazy image loading:
 Although this tool is part of the Jetpack brand, it doesn’t require the core Jetpack plugin. After activating, select Jetpack Boost from the side menu. This plugin will now scan your site and display your Core Web Vitals score across desktop and mobile devices.
Now you know your score, let’s see how you can improve it! The first module is Optimize CSS Loading:
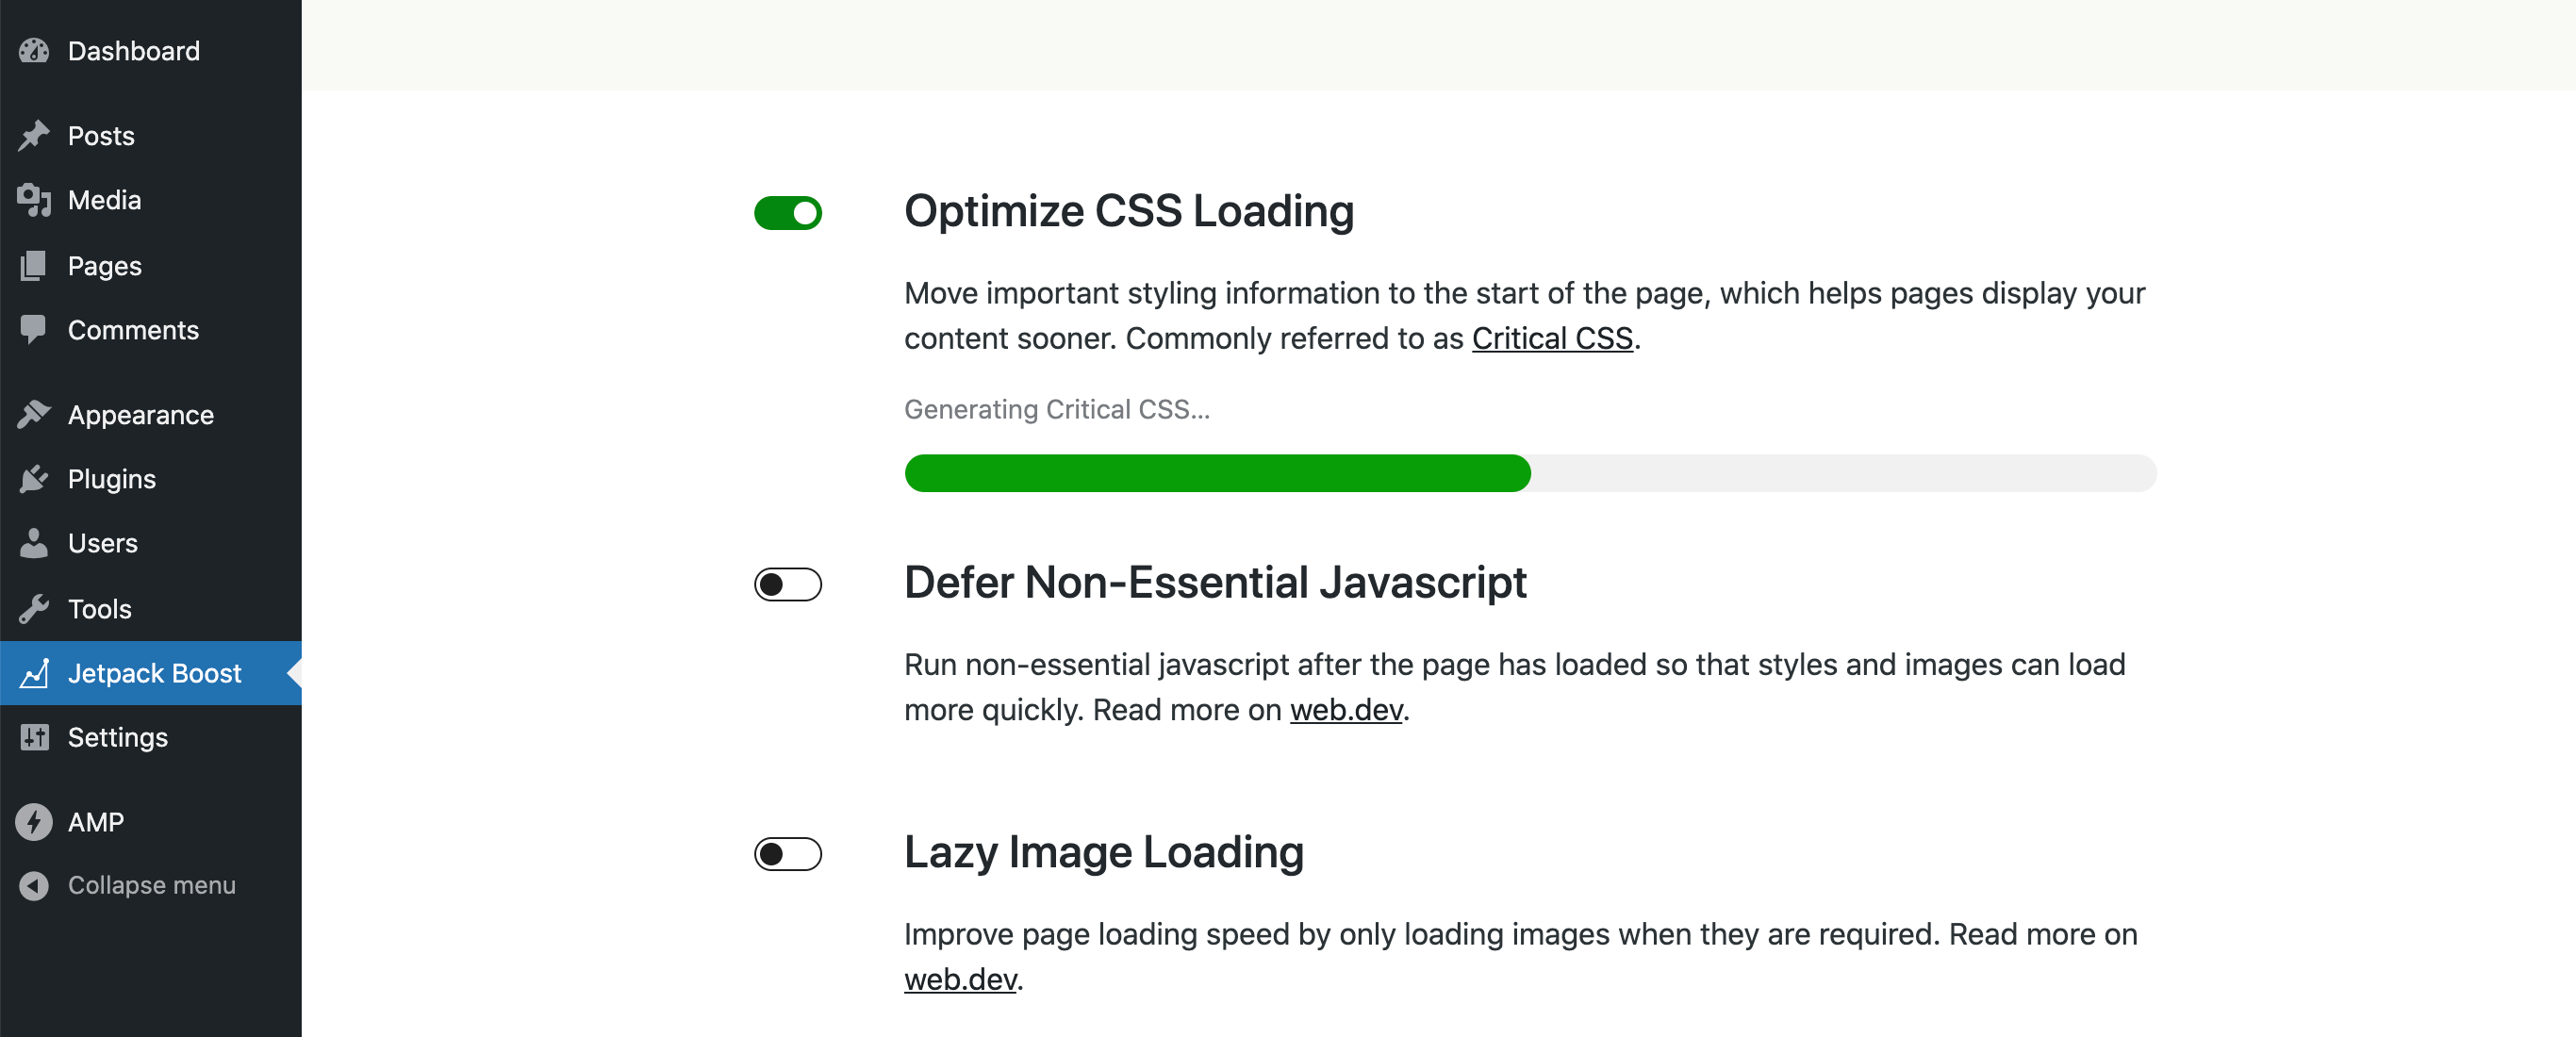
CSS tells the browser how to style your website. Unfortunately, it’s also a render-blocking resource. The browser cannot display your content until the CSS has finished downloading.
When you enable this module, Jetpack will extract the CSS required to display content above the fold. Doing this ensures the most important CSS is downloaded first, which is great for the perceived page load times.
JavaScript is another render-blocking resource. You can use the Jetpack Boost plugin to defer non-essential JavaScript. Doing this tells the browser to keep building the page while simultaneously downloading the JavaScript. In turn, it can decrease page load times:
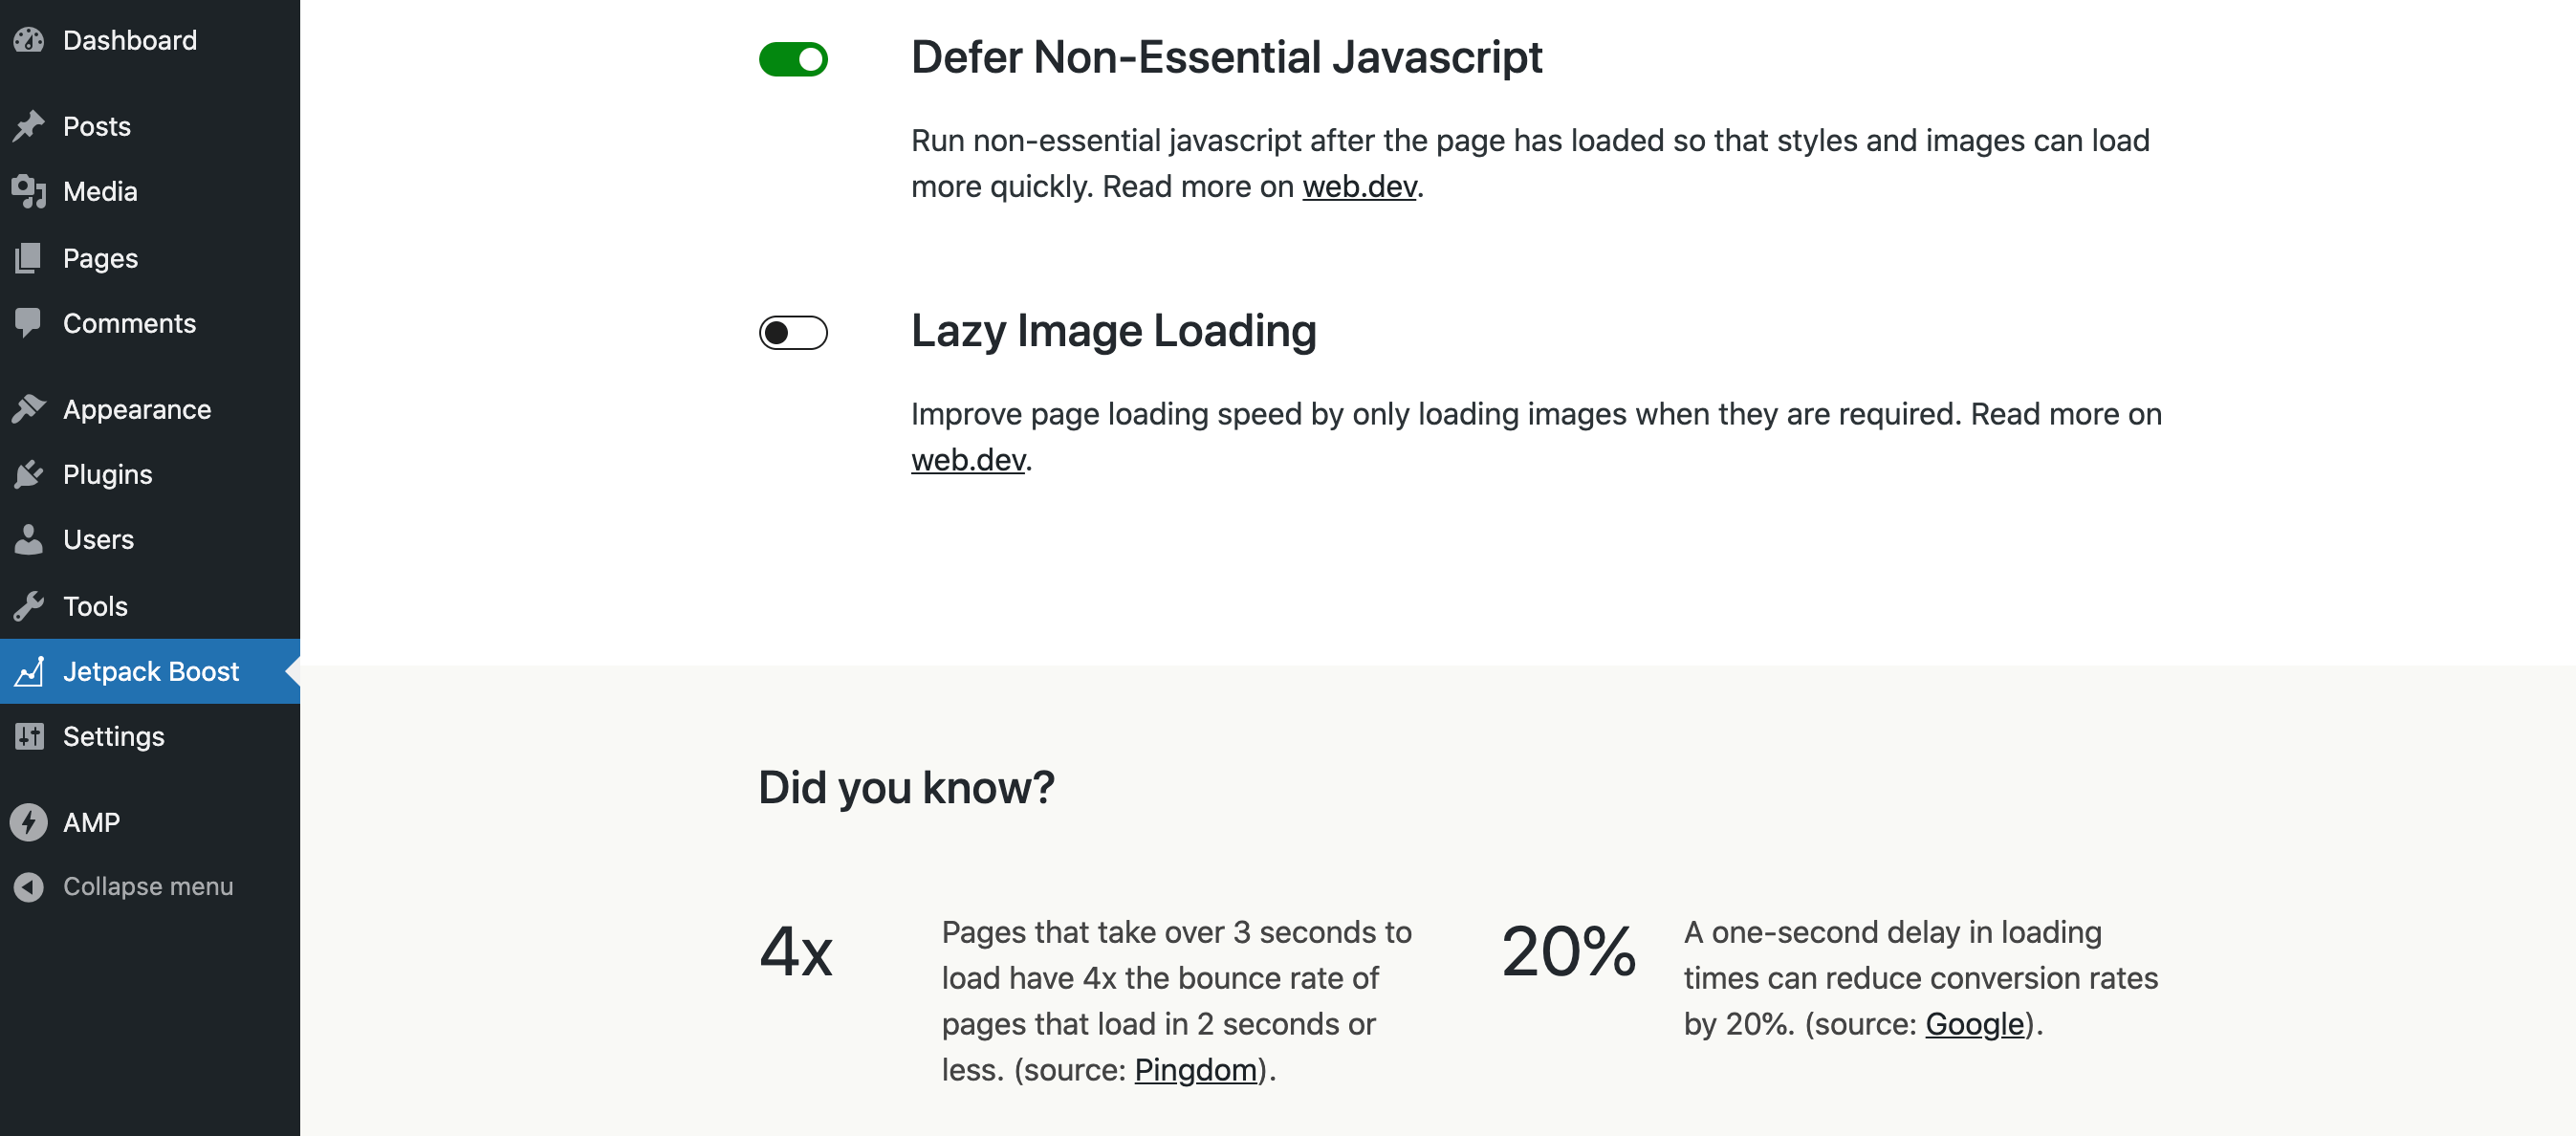
Finally, the lazy loading module will delay downloading and rendering images until they’re visible to the visitor. It can reduce page loading times, particularly if a large number of pictures appear beneath the fold.
It’s worth noting that lazy loading is enabled by default in WordPress 5.5 and higher. However, this Jetpack Boost module may still deliver a performance boost if you’re running an earlier version of WordPress.
3. Monitor your site’s performance
Just because your site is running smoothly now doesn’t mean its performance won’t change over time. For example, if your site attracts more traffic, your page load times may increase. Depending on your hosting plan, your website may also struggle as you add more content.
Your site’s performance can also change suddenly. Plugin conflicts, a poorly-coded theme, or suspicious activity can result in a sudden drop in speed.
For this reason, it’s wise to monitor your site’s performance continuously. Doing this will help you identify and fix issues before they impact your Core Web Vitals score.
You can test your site at any time, using free tools such as Google PageSpeed Insights (PSI), Pingdom by SolarWinds, or the GTmetrix tool:
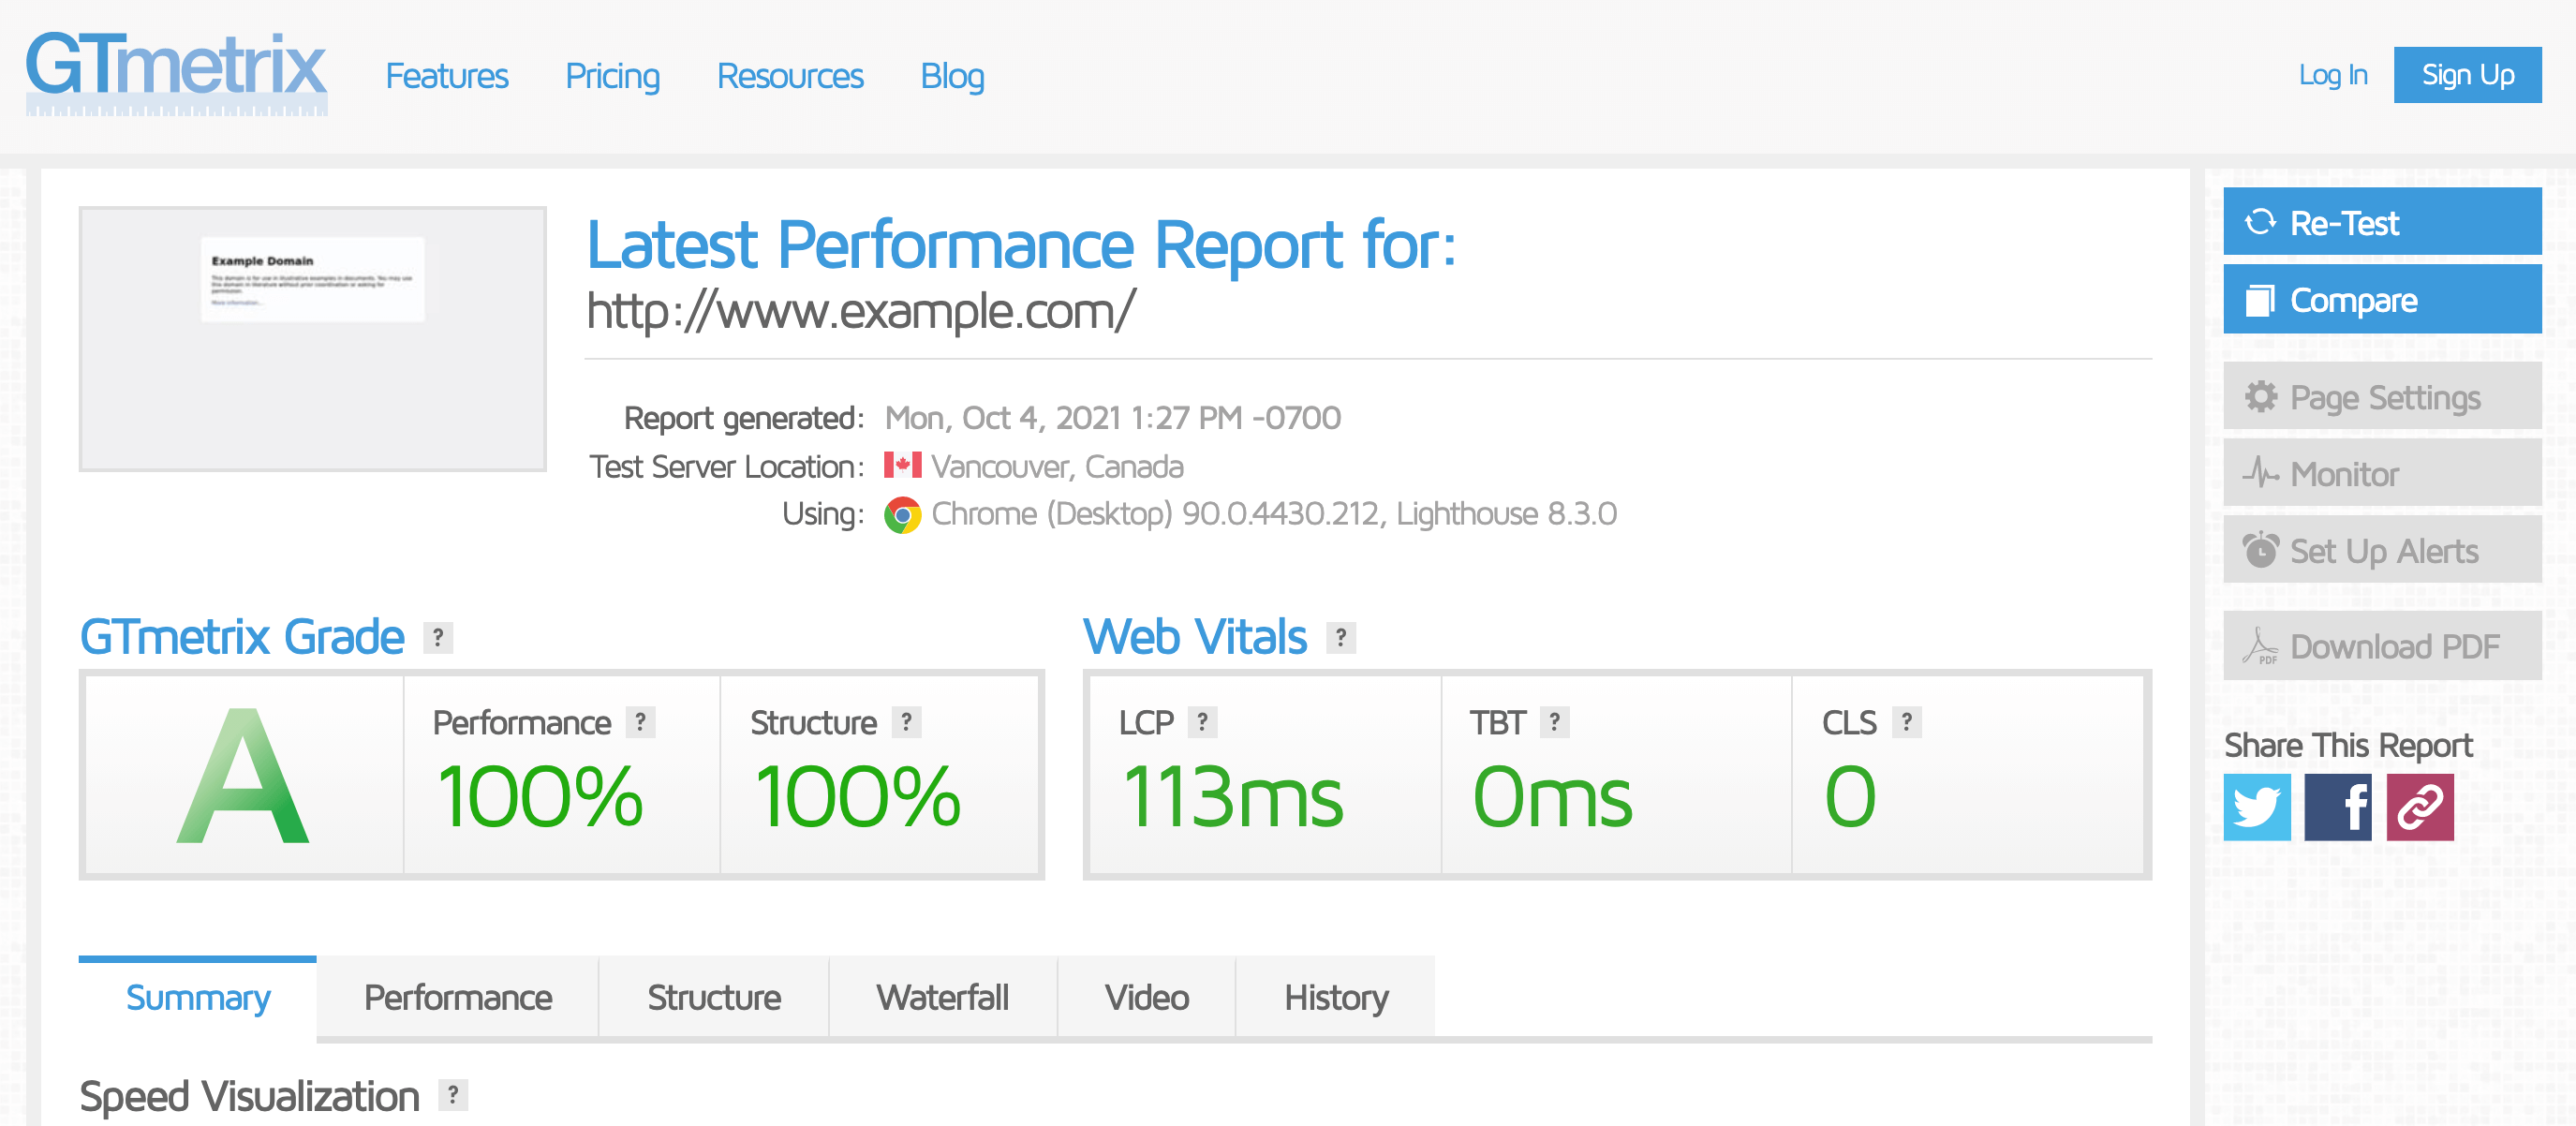
However, doing these manual checks can be a time-consuming process. When life gets busy, it’s easy to let this task slip to the bottom of your To-Do list.
This is where an automated performance monitoring tool comes in. Using a platform such as ManageWP, you can schedule performance checks to run automatically:
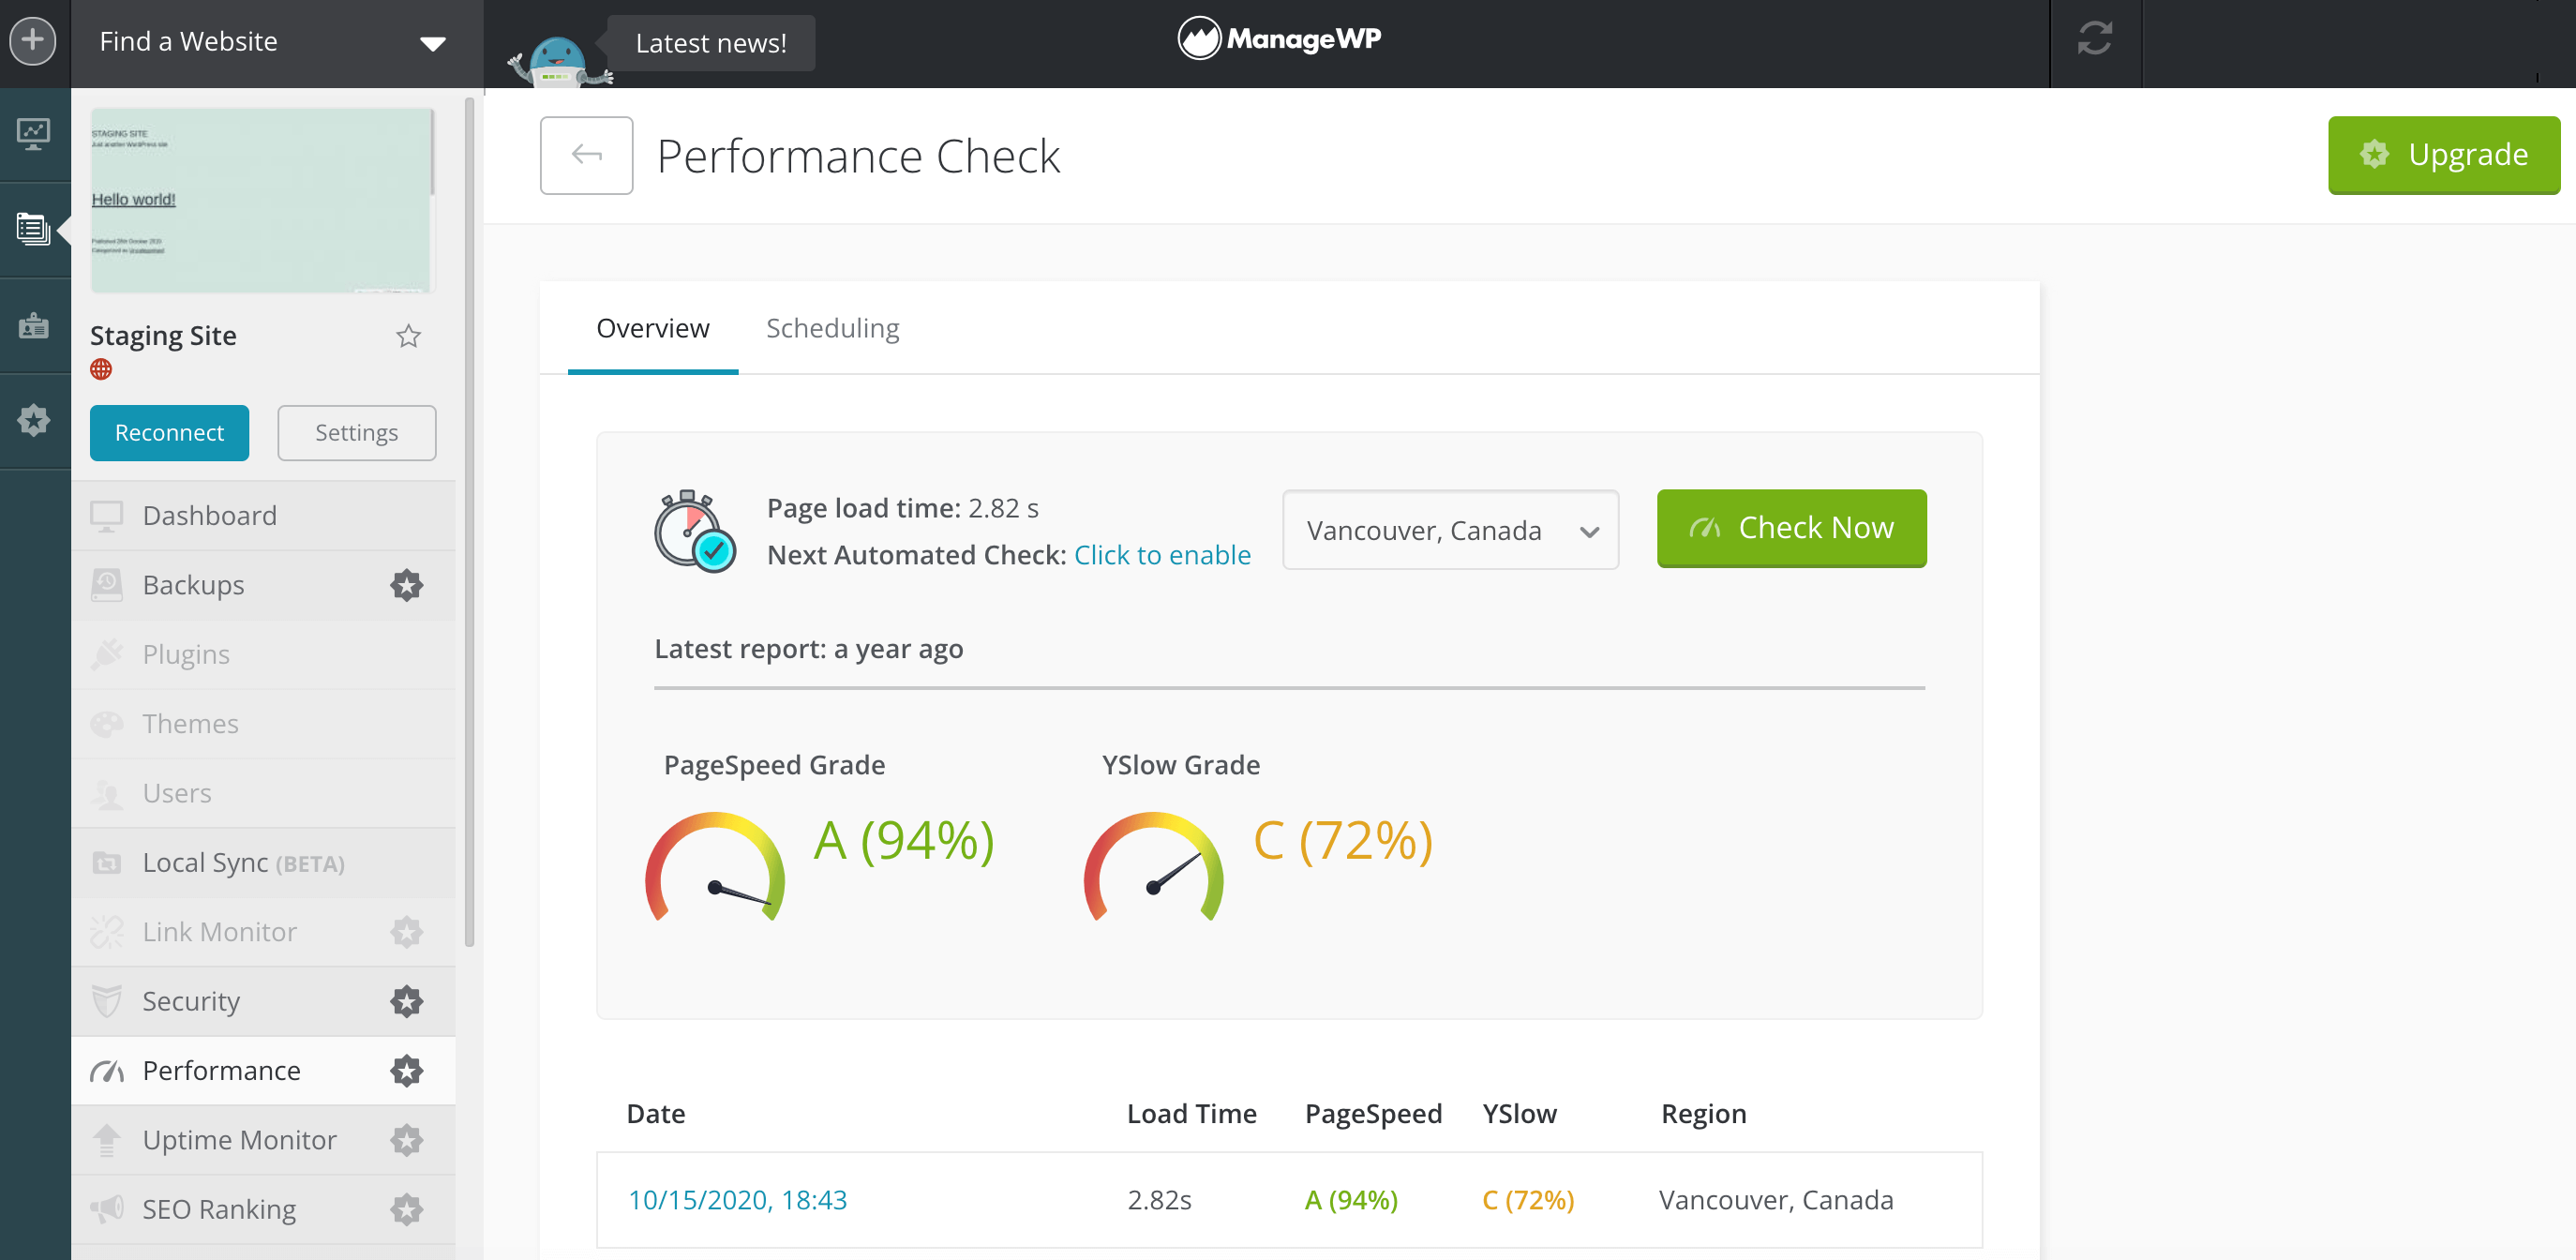
ManageWP will notify you via the Slack communication platform or email as soon as it discovers a problem. You can then get to work restoring your site’s performance before it negatively impacts your hard-won Core Web Vitals score.
Conclusion
Optimizing your site for search engines can sometimes feel like a guessing game. However, with the Core Web Vitals, Google has provided a blueprint for improving your SEO and climbing the crucial search engine rankings.
Let’s quickly recap three ways to optimize your site for the Core Web Vitals:
- Set up Google’s Accelerated Mobile Pages (AMP) using the AMP plugin.
- Install Jetpack Boost and optimize your site’s code with the click of a button.
- Monitor your site’s performance using a tool such as ManageWP.
Do you have any questions about Google’s Core Web Vitals? Let us know in the comments section below!
Keep reading the article at ManageWP. The article was originally written by Will Morris on 2021-10-19 11:00:48.
The article was hand-picked and curated for you by the Editorial Team of WP Archives.

