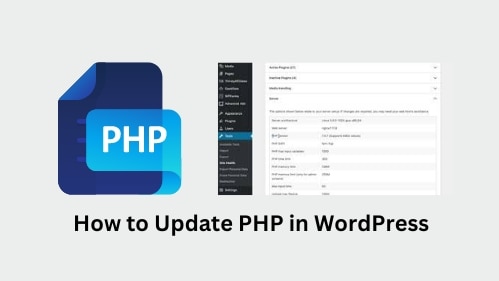
WordPress is a popular content management system (CMS) used by millions of websites worldwide. It is essential to regularly update not only the WordPress core but also the underlying PHP version to maintain a secure and high-performing website.
In this guide, we will walk you through the process of updating PHP in WordPress, ensuring that your site remains secure, compatible, and efficient.
Learn how to update PHP in WordPress and ensure optimal performance and security for your website. Follow our comprehensive step-by-step guide to keep your WordPress installation up to date and enjoy the latest features and enhancements.
Why Updating PHP is Important for Your WordPress Website
Keeping your PHP version up to date is crucial for several reasons:
- Security Enhancements: PHP updates often include security patches that address vulnerabilities discovered in previous versions. By updating PHP, you minimize the risk of your website being compromised by potential security threats.
- Performance Optimization: Newer PHP versions often introduce performance improvements and optimizations, making your WordPress website faster and more efficient.
- Compatibility with Themes and Plugins: Many themes and plugins rely on specific PHP functions and features. By updating PHP, you ensure that your WordPress site remains compatible with the latest themes and plugins, preventing any functionality issues.
- Access to New Features: Updating PHP grants you access to the latest PHP features, allowing you to leverage new functionalities and improvements in your WordPress website.
How to Update PHP in WordPress
Now let’s dive into the step-by-step process of updating PHP in WordPress:
Step 1: Check the System Requirements
Before proceeding with the PHP update, ensure that your web hosting environment meets the requirements of the desired PHP version. Check with your hosting provider or refer to their documentation for compatibility information.
Step 2: Create a Backup
It is crucial to create a backup of your WordPress website before performing any updates. This ensures that you can revert to the previous state if anything goes wrong during the PHP update process.
Step 3: Update WordPress Core, Themes, and Plugins
Before updating PHP, make sure your WordPress installation, themes, and plugins are all up to date. This ensures compatibility with the latest PHP version and reduces the risk of potential conflicts.
Step 4: Test PHP Compatibility
WordPress provides a handy plugin called “PHP Compatibility Checker.” Install and activate this plugin to check if your website and its plugins are compatible with the target PHP version. Resolve any reported issues before proceeding.
Step 5: Contact Your Hosting Provider
Reach out to your hosting provider to inquire about the process of updating PHP on their platform. Some hosts offer a simple control panel feature to switch PHP versions, while others may require manual intervention or assistance from their support team.
Step 6: Enable Maintenance Mode
To avoid any disruptions or errors during the PHP update, activate the maintenance mode on your WordPress website. This displays a user-friendly message to your visitors, indicating that your site is undergoing maintenance and will be back online shortly.
Step 7: Update PHP Version
Follow the instructions provided by your hosting provider to update the PHP version of your WordPress site. This process may involve selecting the desired PHP version and applying the changes.
Step 8: Test Your Website
After updating PHP, thoroughly test your website to ensure that all functionalities are working as expected. Verify the proper functioning of themes, plugins, and any custom functionalities. If you encounter any issues, refer to the PHP Compatibility Checker results or contact the respective plugin or theme developers for assistance.
Step 9: Disable Maintenance Mode
Once you are satisfied with the PHP update and have confirmed that your website is functioning correctly, disable the maintenance mode. Your website will now be accessible to your visitors again.
Conclusion
In conclusion, now you have all the necessary information on how to update PHP in WordPress. By following the comprehensive guide provided, you can ensure that your website remains secure, performs optimally, and stays compatible with the latest themes and plugins.
We hope you found this article helpful in understanding the importance of updating PHP and the step-by-step process involved. If you have any further questions or need additional assistance, feel free to explore our other articles for more WordPress-related help and resources.
Latest posts by Tony Mark (see all)
Where Should We Send
Your WordPress Deals & Discounts?
Subscribe to Our Newsletter and Get Your First Deal Delivered Instant to Your Email Inbox.
Thank you for subscribing.
Something went wrong.
Keep reading the article at WP Newsify. The article was originally written by Tony Mark on 2023-05-22 07:00:15.
The article was hand-picked and curated for you by the Editorial Team of WP Archives.

