If you’re new to the world of file permissions in WordPress, know that this can affect a number of interconnected elements of your site. If those permissions change into something more restrictive, and the server can’t access certain files, you’ll see an error. The ‘Upload: Failed to Write File to Disk’ error and its equivalents is one such issue that (fortunately) has a few simple fixes.
In fact, there are three main reasons for the error in question:
- You have a simple issue with your site’s file permissions.
- The temporary WordPress folder needs clearing out to recover storage space.
- Your site is reaching the maximum storage quota limit, and there is no physical space available.
You’ll need a few tools and skills along the way, but we’ll cover all of them in turn. Let’s get down to business, and start with your site’s file permissions.
1. Edit Your Site’s File Permissions
When we talk about an issue with your site’s file permissions, we mean a specific folder – uploads. This is essentially your Media Library on the server, and if this folder doesn’t have the right permissions, you’ll see the ‘Upload: Failed to Write File to Disk’ error.
To find out if this is an issue, head to the Tools > Site Health > Info page within WordPress:
If the Filesystem Permissions list shows that the uploads folder is Not Writable, you’ll need to fix its permissions. To do this, you’ll need a few items to hand:
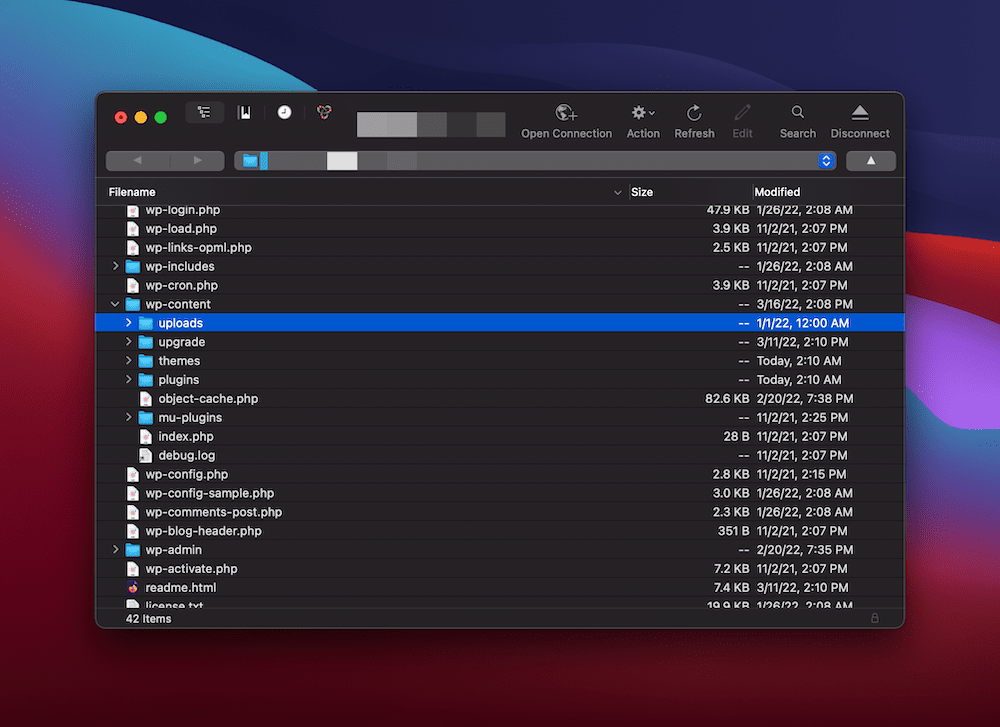
The folder you need should be in the wp-content directory of your site – uploads is a sub-directory along with your plugins, themes, and other files:

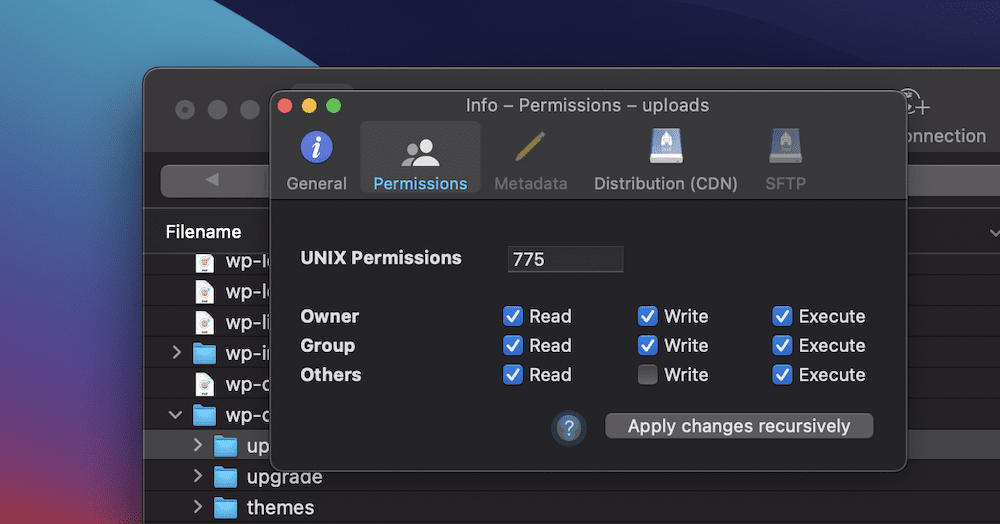
The process to change the permissions depends on your SFTP client. For Cyberduck, you’ll head to Info > Permissions. For FileZilla, there’s an explicit option available. Regardless, you’ll see a number of checkboxes and a three-digit number:

That number should be 775 in order to give your server the permissions it needs to write files. Once you change the figure (if necessary), save your changes, and check for the ‘Upload: Failed to Write File to Disk’ error using the Site Health tool.
2. Empty the WordPress Temporary Folder
WordPress – and in fact many apps – use a temporary folder to store files while it moves them around your file infrastructure. Your computer will do this too – it’s a typical way to upload and download files between locations.
For example, when you look to upload or download a file, WordPress will store it in a temporary directory first, then break the file into chunks and transfer it to your uploads folder. However, if the temporary folder lacks room for the full file, it won’t be able to move it to the uploads folder. The result is the ‘Upload: Failed to Write File to Disk’ error.
While it would be nice to be able to clear out this folder from WordPress or using SFTP, you won’t be able to do this in most cases. Instead, our advice is to contact your host, tell them your issue, and ask them if they can check the temporary WordPress folder.
3. Check the Quota Limit for Your Site and Server
A related issue for the ‘Upload: Failed to Write File to Disk’ error is server space, namely the lack of it. Your quota limit goes by a few different names, but it’s a measure of the space you have left to use on your server.
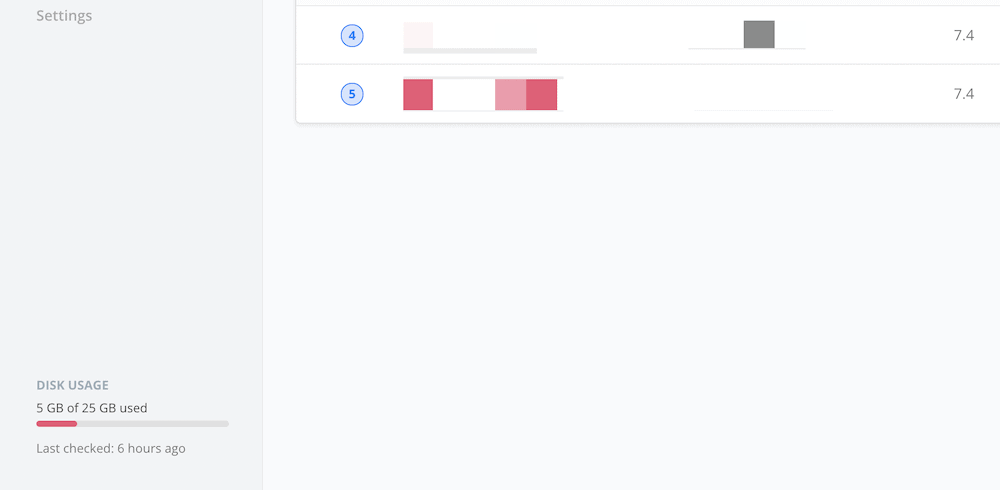
In most cases, you can check this from your hosting control panel. You might need to hunt for the usage figures – for example, you might find it in a corner of the screen…

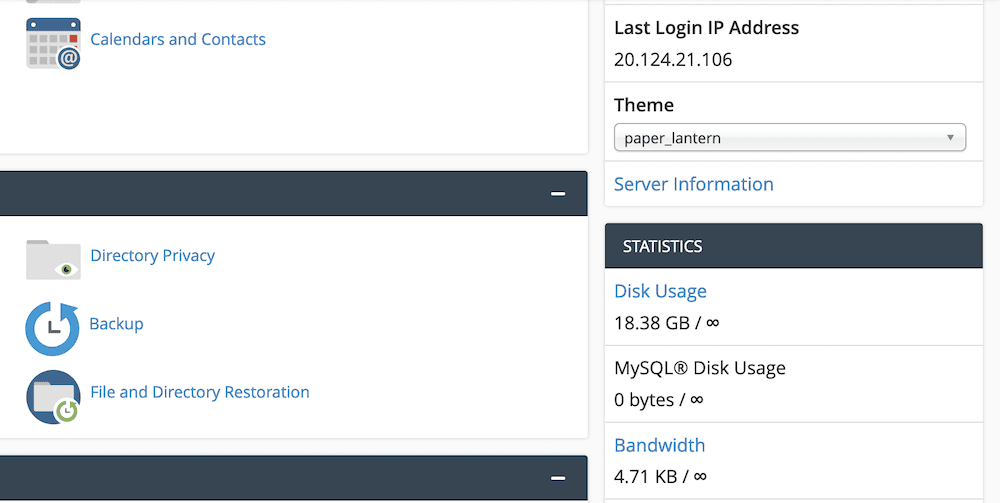
…or it could be visible in the sidebar, as per cPanel:

Regardless, you’ll know straight away if this is an issue. It can be a common one, especially if you use shared hosting or use a smaller plan from a managed WordPress host. Either way, you know what to do here – upgrade your hosting, or switch if all of the factors make sense to do so.
Conclusion
There’s no way to avoid a WordPress error, but as long as you can fix it, all will be well. The ‘Upload: Failed to Write File to Disk’ error is one that appears due to file permissions in most cases. You’ll need some SFTP skills to access your server and fix the issue.
However, there are other considerations you need to make if your file permissions are fine. For example, consider whether you need more space from your chosen WordPress host. There are lots of times where this is a factor, and a full disk means you won’t have the room to write to it.
Do you have a question about the ‘Upload: Failed to Write File to Disk’ error? Ask away in the comments section below!
Keep reading the article at WPKube. The article was originally written by Tom Rankin on 2022-07-20 08:23:00.
The article was hand-picked and curated for you by the Editorial Team of WP Archives.

