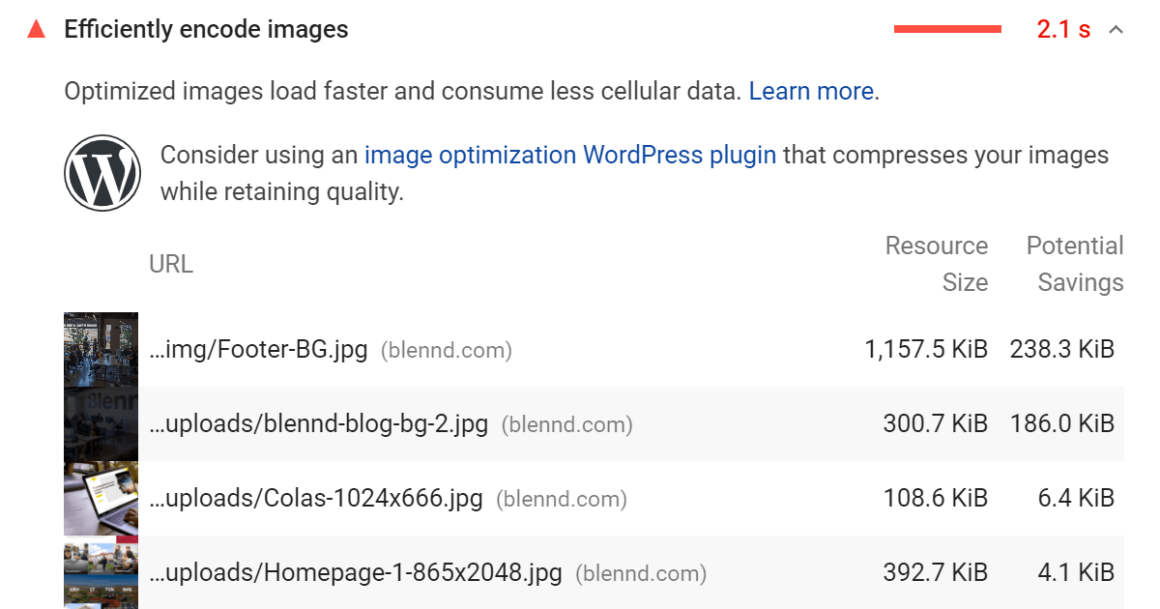
If you ran your WordPress site through PageSpeed Insights, you may come across a recommendation to efficiently encode images.
In WordPress, you can efficiently encode images by compressing them with an image optimization plugin and serving them from a CDN. To further reduce your image load times, make sure you properly size images, specify image dimensions, and convert images to WebP.
Lighthouse scans all images on the page you test, then sets the compression level to 85%. If the saving are 4KiB or greater, they will flag the image and you will see it as an error in your report.
1. Compress Images To 85%
Not all image optimization plugins are reliable.
ShortPixel, TinyPNG, and Smush are highly rated plugins in Facebook Groups. Flying Images was also developed by WP Speed Matters and uses Statically’s free CDN to serve your images.
Most image optimizations let you set the compression level. Since Lighthoue uses 85% compression, that is a good starting point. Depending on your site and how much you want to compress images, you may set it higher or lower since it can have an impact on image quality.
2. Serve Images From A CDN
CDNs don’t always serve images by default.
You may need to use a CDN rewrite which can be done in Perfmatters, some CDN settings, or by using a CDN Rewrite plugin. This will rewrite all your images URLs to include your CDN URL.

Flying images is a free image optimization plugin that automatically rewrites images to be served from Statically’s CDN. It also supports WebP, adaptive images, and native lazy loading.

Old Image URL (Without CDN Rewrite): https://onlinemediamasters.com/wp-content/uploads/2021/01/Tom-Dupuis-Widget.png
New Image URL (With CDN Rewrite): https://onlinemediamasters.b-cdn.net/wp-content/uploads/2021/01/Tom-Dupuis-Widget.png
3. Lazy Load Images
Lazy loading images was built-in to WordPress 5.5 and is the “defer offscreen images” recommendation in PageSpeed Insights.
This can also be done in most image optimization and cache plugins. Ideally use an option that support a browser’s native lazy loading if available and lazy loading inlined background images.
4. Specify Image Dimensions
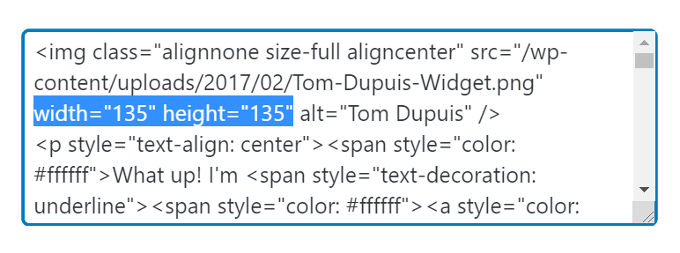
Specify image dimensions means you need to add a width and height attribute to the image’s HTML or CSS. If images are missing the dimensions, Lighthouse will flag them and show errors.
To fix this, view the flagged images in your PSI report, locate them on your WordPress site, and view the image’s HTML. Add a width and height attribute that matches the image’s dimensions.

5. Properly Size Images
Properly size images means you need to resize images to their correct dimensions.
For example, my blog width is 680px so I make sure all my screenshots and other images are cropped/resized to 680px. Same thing applies to your logo, sidebar, footer, carousel, and featured images. Each of these have specific dimensions your images should be resized for.
While some image optimization plugins try to do this automatically, it’s best to use properly sized images before uploading. Many people do this in editing software like PhotoShop or GIMP which can also help efficiently encode images by compressing them and removing EXIF data.
You should also use adaptive images to automatically resize images to smaller dimensions for mobile. This can be done using ShortPixel Adaptive Images or another adaptive images plugin.

6. Use WebP Images
Most image optimization plugins now support WebP.
WebP images are higher quality yet typically results in a 25-34% smaller file size. It makes sense to use WebP (at least for images that appear across your entire site), but PSI also shows images that should be converted. ShortPixel + WebP Converter For Media are two good WebP options.
Install a WebP plugin, choose your conversion method (e.g. tag) and convert your images to WebP.
![]()
7. Serve Static Assets With An Efficiently Cache Policy
Images typically don’t change often, so they can be cached for a long period of time. Lighthouse flags an image if the cache lifespan is over 180 days.
To serve images using an efficiently cache policy, change the static cache expiry (or similar) in your hosting account to 180 days (or 259200s). Below is an example for NGINX on Cloudways.

That’s it!
You should be at 100% for efficiently encode images in WordPress:

See Also: My Ultimate WordPress Speed Optimization Guide (it’s good, I promise).
Cheers,
Tom
Keep reading the article at Tom Dupuis. The article was originally written by Tom Dupuis on 2021-03-09 18:23:41.
The article was hand-picked and curated for you by the Editorial Team of WP Archives.


 Tom Dupuis writes WordPress speed and