WordPress works very well out of the box, yet you’ll almost want to make custom changes to your site. However, experimenting with plugins and code can be risky. One mistake and your website may go offline, or in the worst-case scenario, end up broken beyond your ability to fix it.
That’s where staging sites come in handy. With this private copy of your website, you can test out your intended changes, try out new designs, and troubleshoot errors in safety. What’s more, visitors on your live site won’t be able to see your work in progress, which might otherwise present an unprofessional appearance.
In this article, we’ll look at precisely what a staging site is, how it works, and why you might need one. Let’s get to it!
What a staging site is
A staging site, also known as a testing site, development site, sandbox, or staging environment, is a duplicate of your live WordPress-powered website. It’s kept private from visitors, so only you and approved users are able to access it.
Having a copy of your website is invaluable as a testing ground for development purposes. We’ll touch more on its uses shortly, but they can range from testing how a new theme might look to trying out some custom code that adds brand-new functionality.
While the files and database are identical to your primary website, any changes you make won’t affect that website until you choose to ‘push them live’. This makes it a completely safe area for testing and troubleshooting, and one that won’t negatively affect your audience or customers.
How staging sites work
Now that you know what a staging site is in a general sense, you might be wondering exactly how it works. A staging site is almost always created as a ‘subdomain’ of your site’s primary domain. For example, your staging site might be located at subdomain.mainwebsite.com.
While the staging area duplicates the primary website, the files and database will be stored in the subdomain folder. It’s kept separate, so that any changes you make will not impact the functionality or appearance of the main website.
Once you are satisfied with how your staging site looks and runs, you can push your changes to the live website. This means that the files and database currently located on the subdomain will replace the ones on your primary domain. There are two ways of doing this: ‘simple push’ and ‘advanced push’.
Simple push means that the entire live site is written over with the contents of the staging site. In contrast, advanced push means selecting which aspects of your staging site you want to make live. That way, you won’t overwrite any new content that’s been added to your primary domain since the staging site was created, such as ecommerce data or news posts.
It’s also worth noting that so far, we’ve been talking about staging sites that are hosted online. These are typically created via your website’s hosting provider. However, you can also create offline ‘local’ staging sites, where the files and database are stored on your computer. This is a more private environment and enables you to work offline; however, the process of pushing your changes live is often more complicated with this type of staging site.
Why you should consider using a staging site
It’s very common to use a staging site both when creating a new website and updating an existing one. There are many benefits to this approach, including:
- Users won’t see your work in progress. You can make whatever changes are needed in private, and push them live only when they’re 100% ready to go.
- You won’t risk crashing or breaking your live site, or losing data and content.
- You can experiment with new plugins, themes, and third-party tools to see if you like the way they affect your site, without being locked in to those changes.
- You’re able to try out custom code and changes to core files in a safe environment.
- If there are errors on your site, you can conduct troubleshooting and try out fixes. Then, when you find a solution that works flawlessly, you can duplicate it on your live website.
- Finally, using a staging site means you don’t have to rush the process of making changes. You don’t have to worry about visitors encountering a half-finished site or a maintenance mode page, and losing out on clicks or revenue while you’re working.
Instead, you can keep your primary site running exactly as it is now, and take your time with your development work. Then you can make the changes live for your visitors whenever you’re ready.
3 ways to create a WordPress staging site
Staging sites are fairly simple to create, can be set up locally or offline, and allow you to produce a more professional website. Plus, there are multiple ways to get started. Let’s take a quick look at your three primary options.
1. Create a staging site via your web host
Many website hosts offer staging functionality. This includes some of the most popular hosting options for WordPress sites, such as SiteGround and Bluehost:

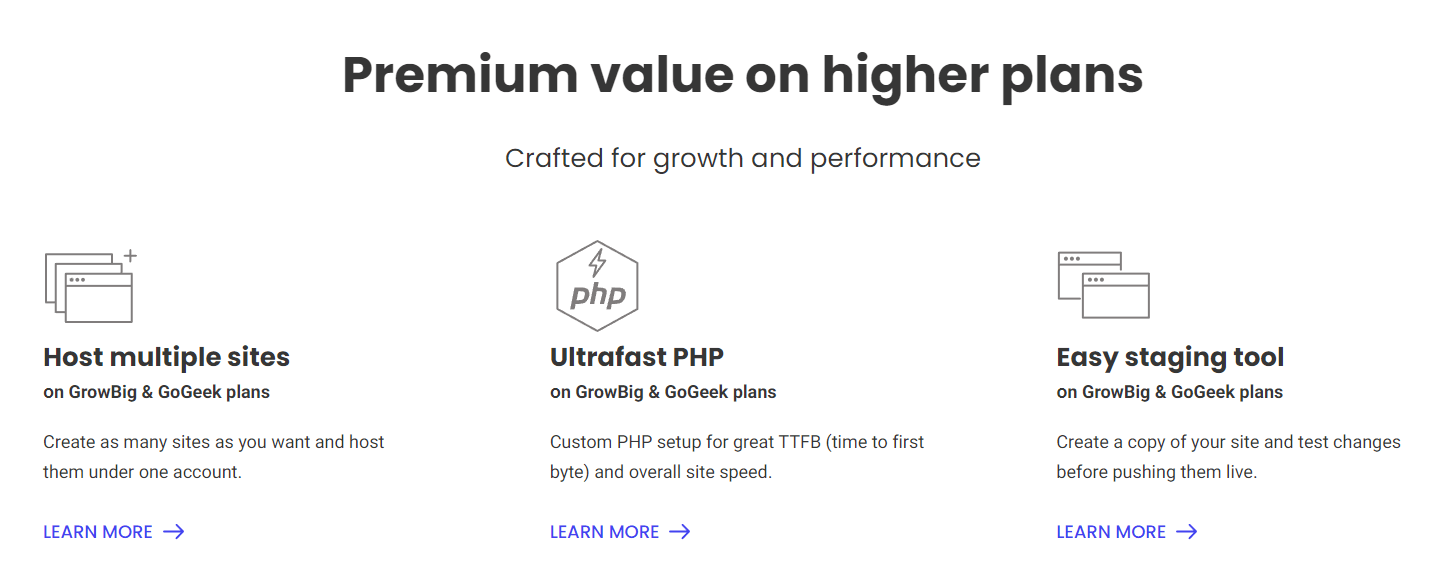
SiteGround provides this option on its GoGeek plans and above. You can use a Staging module in cPanel to create a staging site quickly. Bluehost is just as simple, with staging available via the Bluehost option in your WordPress dashboard.
So if you need to create a staging site, it’s worth checking with your web host to see if it’s something they’ll facilitate. While you get a little less control this way, it’s typically the quickest and simplest option. If your current hosting plan doesn’t include staging sites, you may be able to get this option if you upgrade to a higher tier. Otherwise, you can check out one of the following options instead.
2. Use a plugin
If your hosting provider doesn’t offer staging site functionality, a WordPress plugin is another option. There are plenty of third-party tools that can help you create and manage your staging website, as well as push it live when it’s ready to go.
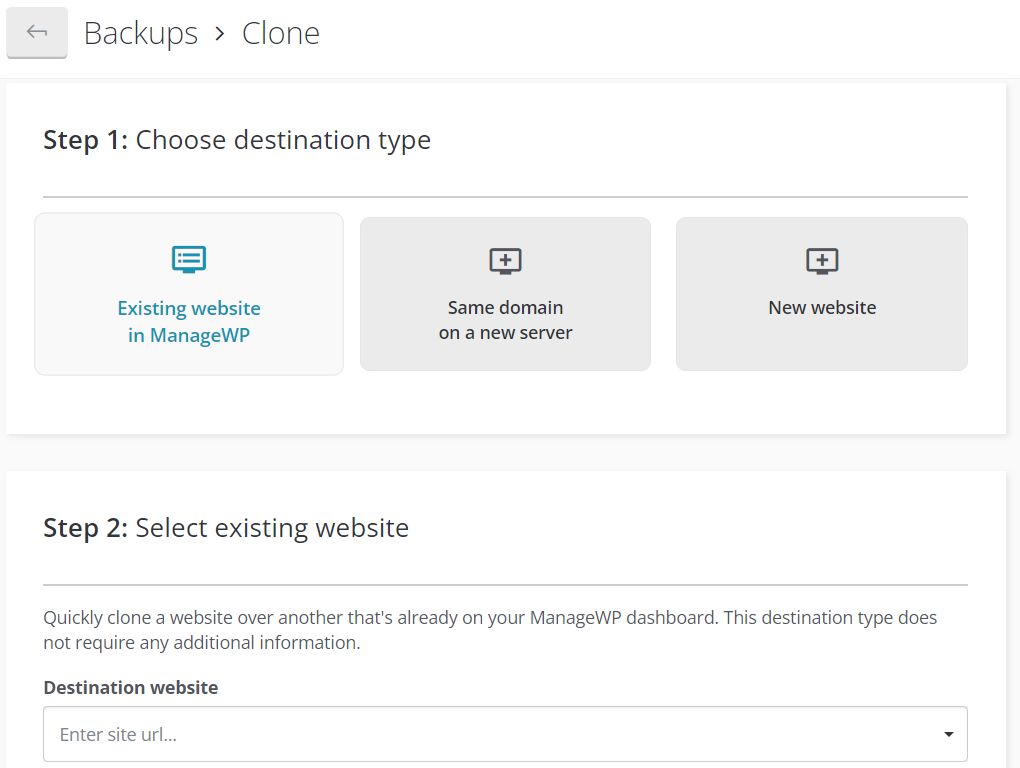
For example, you can use our own ManageWP plugin to set up your staging sites. All you have to do is clone the most recent backup of your site, and use it to create a staging copy:

This process is customizable and completely under your control. For example, you’ll be able to determine where your staging site is located. It’s also quick and simple, as is the process of pushing your staging site live.
Finally, using ManageWP offers many advantages over a standalone staging solution. Along with this particular functionality, you’ll get lots of handy features for developing and maintaining your website – including backups, safe updates, and an uptime monitor.
3. Set up your staging site manually
Finally, you can set your staging site up manually if you prefer. This gives you the most control, although it’s also the most complex option and is more suitable for advanced users.
If you choose to go this route, there are a few options. For example, you can create a subdomain via your hosting provider and install a plugin such as Duplicator. You’ll use the plugin to create a copy of your website, then download the archive and upload it to the file directory of your new subdomain. You will then need to create a new database as well.
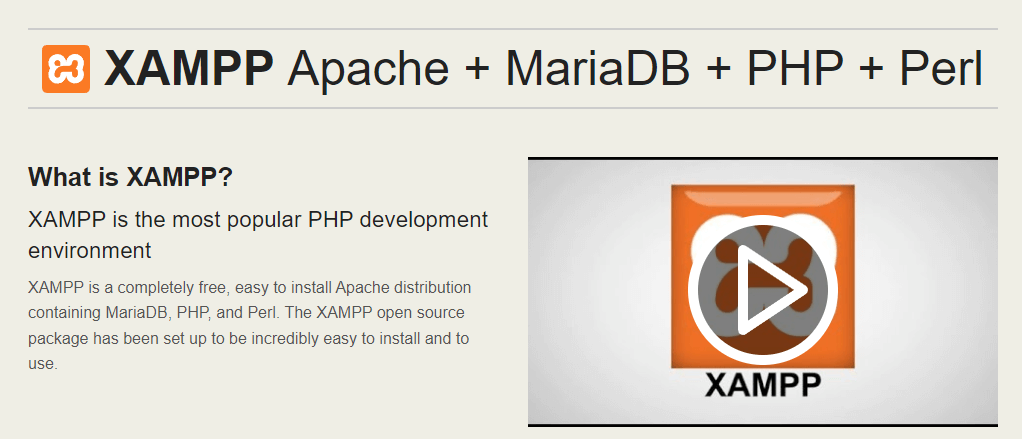
You can also use a third-party tool such as XAMPP, WAMP, or MAMP:

All of these platforms are free, and can help you create a local staging site on your own computer. The exact process varies depending on the tool you choose and your particular goals, but you can find plenty of guidance online to help you get started.
Conclusion
If you want to ensure that your website is never threatened by time- and money-consuming downtime, you’ll need to make any necessary changes in a safe environment. Having a staging site on hand lets you redesign your site, experiment with new plugins, troubleshoot errors, and much more.
Best of all, setting up a staging site is quick and easy. You may be able to use your hosting provider’s built-in functionality. If not, there are plenty of manual options, or you could set up a staging website quickly with ManageWP. Even if you don’t require a staging site right now, it’s a vital resource to have on hand when the need arises.
Do you have any questions about WordPress staging sites? Let us know in the comments section below!
Image credit: onkelglocke.
Keep reading the article at ManageWP. The article was originally written by Will Morris on 2022-05-17 11:00:10.
The article was hand-picked and curated for you by the Editorial Team of WP Archives.

