
Are you wondering if there’s a cheaper ClickFunnels alternative?
ClickFunnels is a sales funnel builder that lets you market, sell, and deliver your products online. It’s an expensive (or overpriced?) all-in-one suite that comes with all the tools you need to build a sales funnel, such as web hosting, drag and drop builder, email marketing tool, and more.
ClickFunnels is aggressively marketed as the only reliable solution for building a sales funnel. However, it has its own downsides.
- Price: $297 / month. To be honest, that’s a lot of money especially when you’re getting started
- Buggy platform: A lot of ClickFunnel users say that the platform is buggy and the support isn’t up to par.
- Mediocre features: Just as any all-in-one platforms, ClickFunnels also tries to offer the basic features of everything. For advanced features, you’ll have to integrate with a third-party service.
In this article, we’ll show you some of the best ClickFunnels alternatives and show you how to create unlimited sales funnels for your brands with ease.
And it’s way cheaper!!
Make sure to use these products altogether to build a sales funnel.
Using ClickFunnels Alternatives for Building a Sales Funnel
Here’s a list of things you’ll need to create a ClickFunnels alternative with WordPress. We’ll offer you the best options for these in the following section.
- Bluehost: Get a free domain name and web hosting.
- Divi: Design your sales funnel with a drag and drop builder.
- WooCommerce: A complete eCommerce solution that lets you sell products and services from your sales funnel.
- CartFlows: You’ll need a funnel builder plugin to create your funnel.
- WPForms: Easy contact form plugin for your funnel
- Constant Contact: INtegrate an email marketing service.
- OptinMonster: Turn your visitors into leads and customers.
- MonsterInsights: Track your website performance with Google Analytics.
Now that you know what ClickFunnels alternatives you need, let’s dive in and take a look at how to build a sales funnel with them, step by step.
Step 1: Sign Up for Bluehost and Start Your Sales Funnel

The first thing you need to set up a sales funnel is to sign up for Bluehost for web hosting. Bluehost is an officially recommended hosting provider by WordPress.org.
After signing up, select a domain name for the sales funnel that you’re about to create. Then install WordPress on it to start creating a sales funnel. It offers a free domain name, free SSL, unlimited disk space, guaranteed uptime, brilliant support, and one-click WordPress install.
Here’s a step by step guide on building your website from scratch or sales funnel with Bluehost.
Bluehost Price: $2.75/month
Check out the complete Bluehost review.
Step 2: Installing Divi, the Drag and Drop Builder Theme
After installing WordPress, you’ll need to choose a good theme for your website with sales funnel. Divi is a perfect option for you as it lets you choose from hundreds of website packs. Install one of the website packs and customize it according to your needs with the help of its built-in drag and drop website builder.
Divi’s visual builder lets you create a sales funnel with ease. It lets you see the real-time preview of the design as you customize it.
The builder is super flexible and lets you add various modules to your design. You can easily use it to style your site even without any prior experience. Here’s more about Divi.
Divi Price: $89/year (which mean you’re paying just $7.41 a month)
Step 3: Installing WooCommerce to Sell Your Products

The next step is to install and activate the WooCommerce plugin. This plugin lets you convert your website into an online store. With the plugin, you can sell digital or physical goods and even membership subscription. You can set up shipping, payment processing, inventory management, and a lot more.
Once the plugin is activated, you can go through the setup wizard. Once it’s completed, you can go ahead and add your products, set up payment gateways, and start selling your products.
WooCommerce Price: Free
Step 4: Adding Your Products to WooCommerce
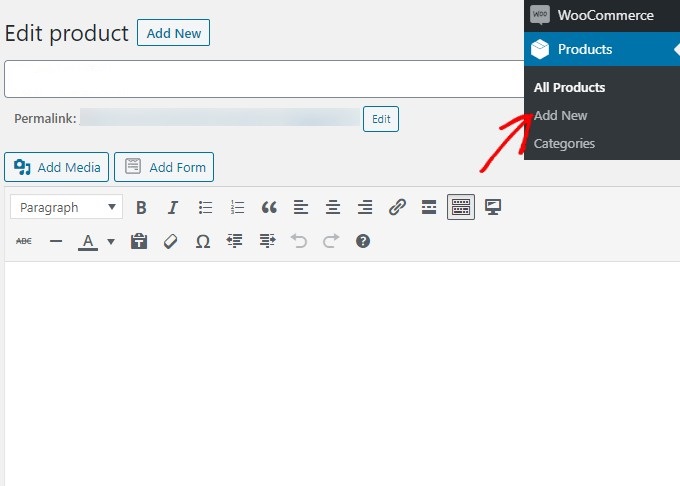
To add your products, go to WooCommerce » Products » Add New. You’ll now see a new interface where you can add your products. Just add your product name and description.
Now scroll down to add the product data fields. If you’re selling online courses, not physical goods, then select the Virtual checkbox. If you’re offering a downloadable product like an eBook, then don’t forget to select Downloadable as well.
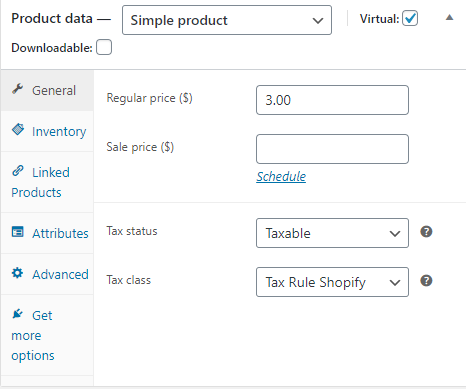
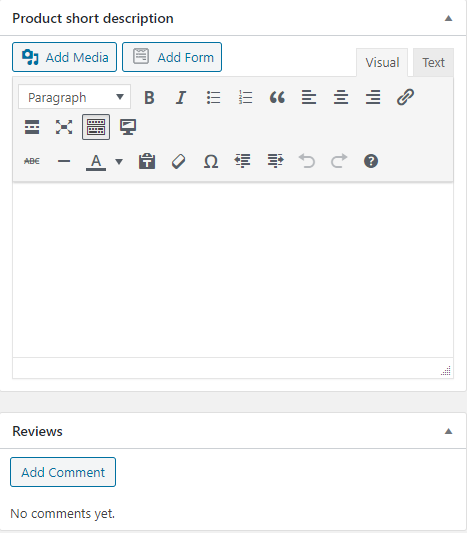
You can now go to each of the tabs under Product data and add your details. After scrolling further down the screen, you’ll see options for adding your product description, images, and even reviews if you have any.
You can repeat the same process to add more products.
Once everything is added, you need to save your settings using the Save button on your right.
Step 5: Setting up Your Funnels with CartFlows
It’s now time to start creating your funnels. For that, we’ll use the CartFlows plugin. It’s a free plugin that you can download from the WordPress repository.
Once the plugin is installed and activated, you’ll see a notification on the top of your screen asking you if you want to run the setup wizard. Run the wizard by clicking on this notification. You’ll now see the following on your screen.
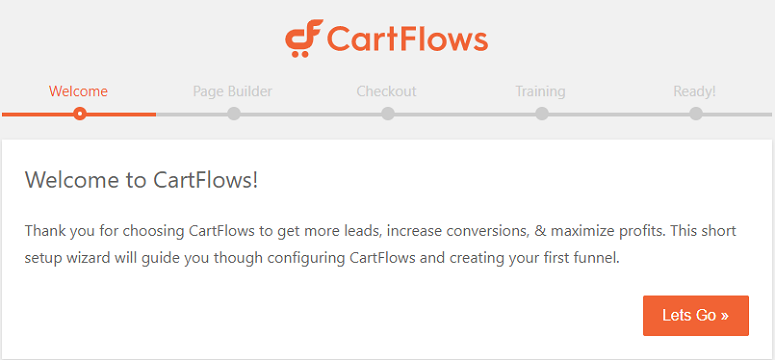
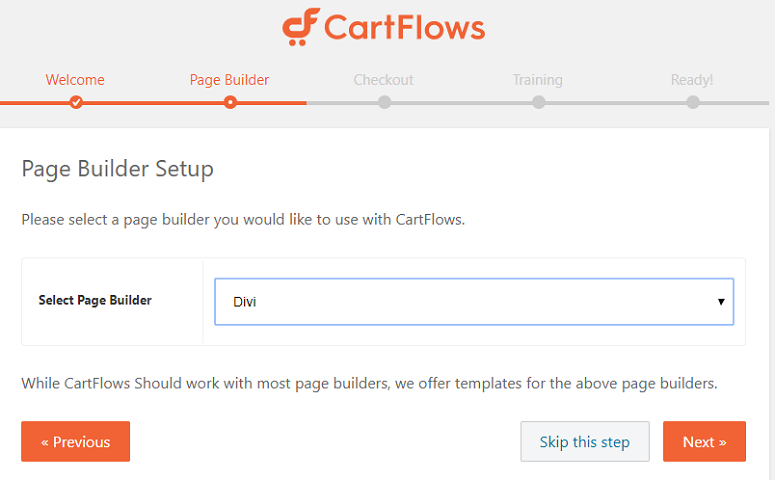
Click on the Let’s go tab. Here you’ll need to select a page builder to design your funnels. You have 4 options for that:
- Elementor
- Beaver Builder
- Divi
- Other
As we’ve already installed Divi (step 2), choose Divi. Alternatively, if you need a free option, select Beaver Builder lite. However, the choice is totally yours. But if you’re good with designs you can skip this step.
In the next step, you need to choose if you want a checkout option. Click on Yes if you want it. Next, you’ll be asked if you want to gain access to a training course. You may want to skip this step and move ahead.
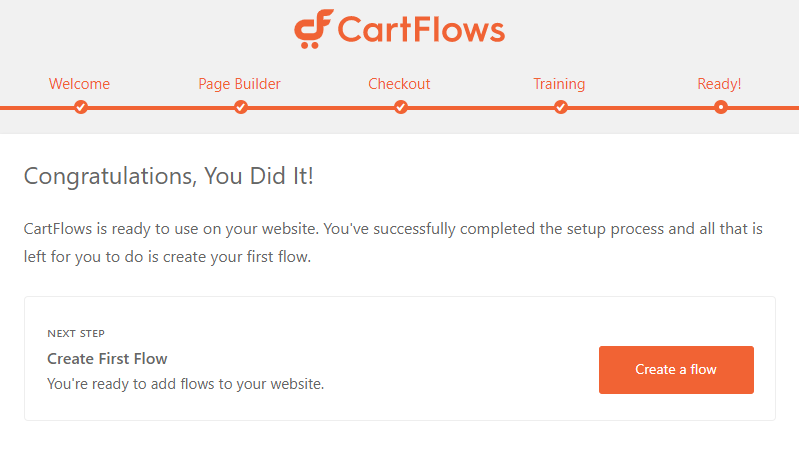
In the final step, you’re ready to create your 1st flow. So click on the Create a Flow tab.
CartFlows Price: Free
Step 6: Creating Your First Flow
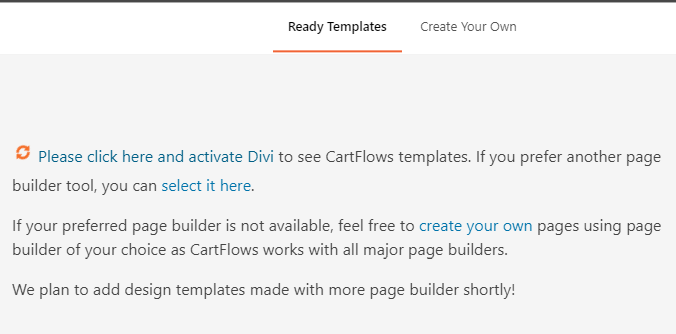
Before proceeding further, you’ll be prompted to activate the page builder first. We’ve already installed and activated Divi for this purpose.
If you haven’t activated it yet, use the link on your screen to do it.
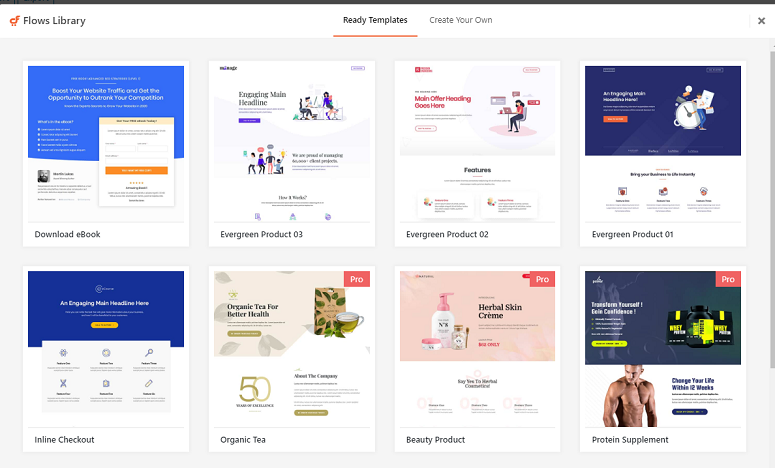
Now you’ll see a number of ready-made templates on your screen. Based on your liking, select one from them and click on Import.
You’ll now be redirected to a new screen where you can name your flow.
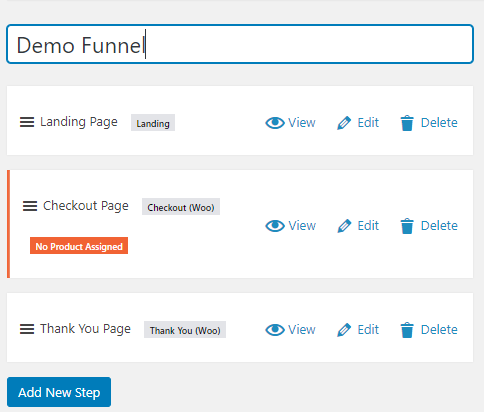
Now you can edit your landing page, checkout page and thank you page by clicking on the edit icon next to each of these pages. You can also reorganize these pages by dragging and dropping them in the order you want them to appear.
Clicking on the edit icon will launch the Divi Builder where you can start designing your page. You can simply click on the section that you want to edit and start customizing it.
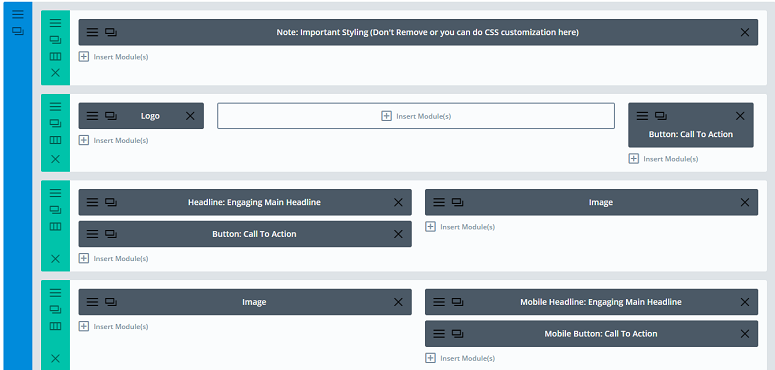
Once done, you can Publish your flow and make it live.
Although your Clickfunnels alternative is ready to go live there are a few more steps you need to complete to ensure that it works best for your business.
Step 7: Adding a Contact Form With WPForms
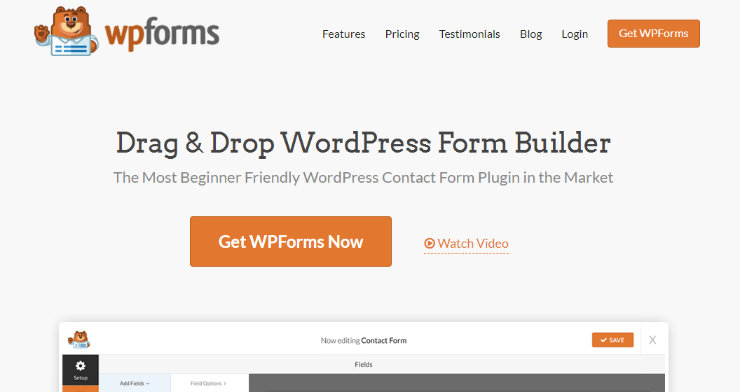
WPForms is a form builder plugin that helps you add a contact form to your sales funnel. It actually lets you build any kind of form that you want. The drag and drop builder that the plugin offers is extremely user-friendly.
You can use it to collect donations, payments, even integrate it with an email marketing service. Here’s how to add a form with WPForms. The plugin has a free version that’s enough for you to build a simple contact form for your site. But if you want advanced features, you’ll have to upgrade it to a premium plan.
WPForms Price: Free
Step 8: Integrate an Email List With Your Sales Funnel

To integrate an emaill list with your sales funnel, choose anemail marketing service like Constant Contact. It is by far the best email marketing services on the market for beginners.
With Constant Contact, growing your email list is easy. You can set up automatic welcome emails, segment your list based on their engagement, and do a lot more. Know more about Constant Contact here.
Constant Contact Price: $20/month
Step 9: Skyrocket Your Email List With OptinMonster
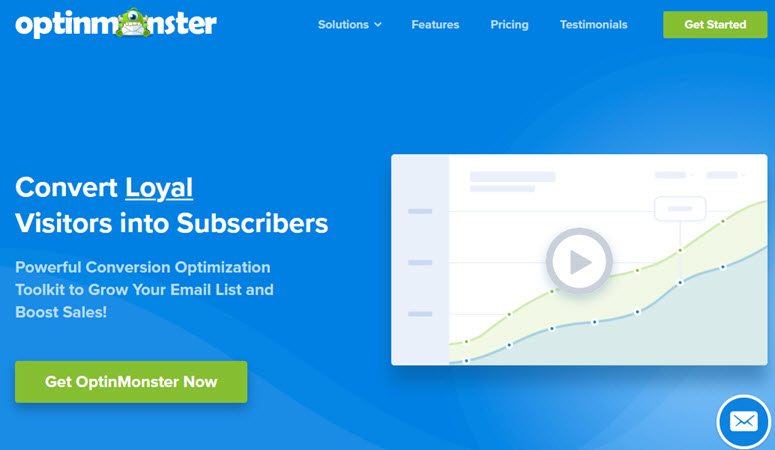
OptinMonster is a powerful lead generation and customer acquisition plugin that grows your business exponentially. Whether you want to grow your email list, turn your visitors into customers or increase your pageviews, OptinMonster is the best option for you.
In our funnel, let’s use OptinMonster to grow your email list.
Here’s a detailed review on OptinMonster. And here’s how you can use OptinMonster to create stunning lead generation campaigns for your site.
OptinMonster Price: $9/month
Step 10: Track the Performance of Your Sales Funnel

MonsterInsights is the best Google Analytics plugin for WordPress that lets you check the performance of your sales funnel right from your WordPress dashboard.
Using this plugin, you can track your users, clicks, signups, sales, and a lot more. Learn more about Monsterinsights here.
MonsterInsights Price: $79.60/year (which means you pay just $6.63/month)
That’s it. We hope you found our article on the best ClickFunnels alternatives helpful. By following the above steps, you can build a sales funnel for only $54.4/month. This means you could be saving almost $243 every month.
If you want to add more features to your website, here are some more plugins that you can check out.
Keep reading the article at IsItWP – Free WordPress Theme Detector. The article was originally written by Editorial Team on 2020-05-11 06:07:26.
The article was hand-picked and curated for you by the Editorial Team of WP Archives.

